by harrisonburgarchitect | Mar 25, 2015 | architecture, Harrisonburg Architect
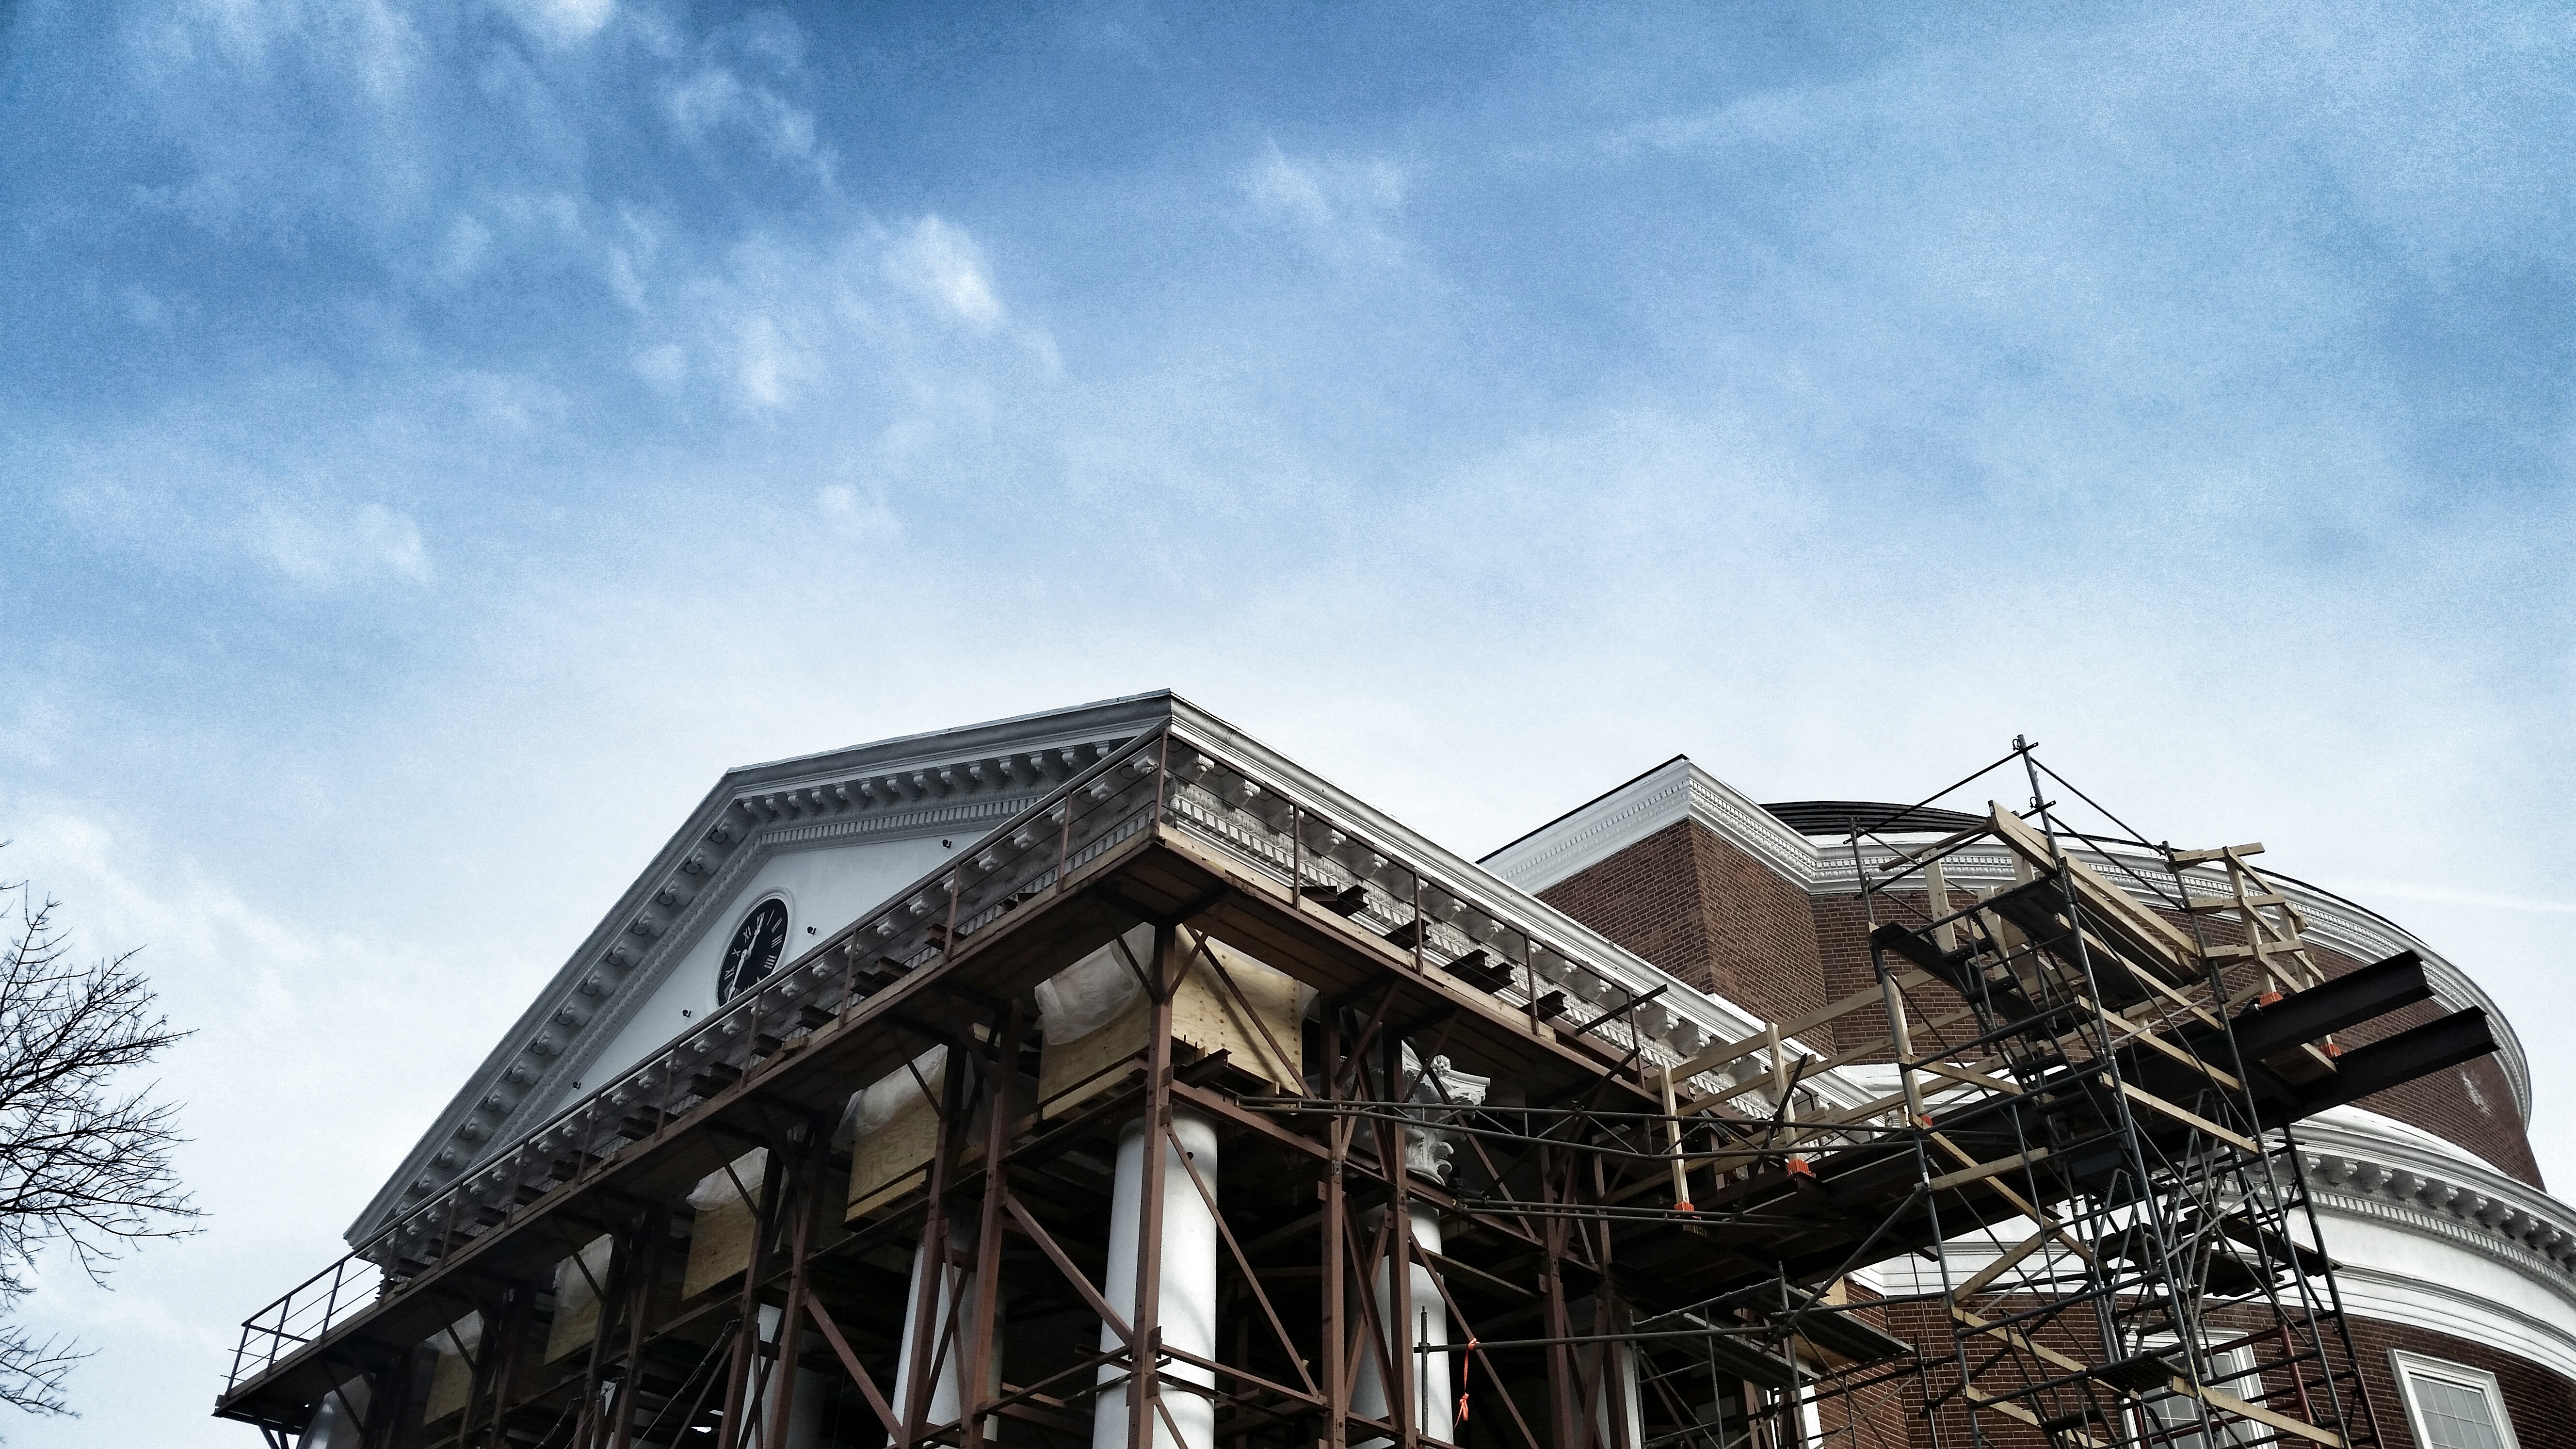
The Architecture of the University of Virginia is incredible and getting a tour of it led by Edward Lay is even better. Each year for the past 3 years, I have organized a tour for Department of Energy employees to show them building developed with sustainability in mind. Thomas Jefferson did just that with the Academical Village. He believed that an architect should design for their seventh generation, a concept he found in the Iroquois Constitution.

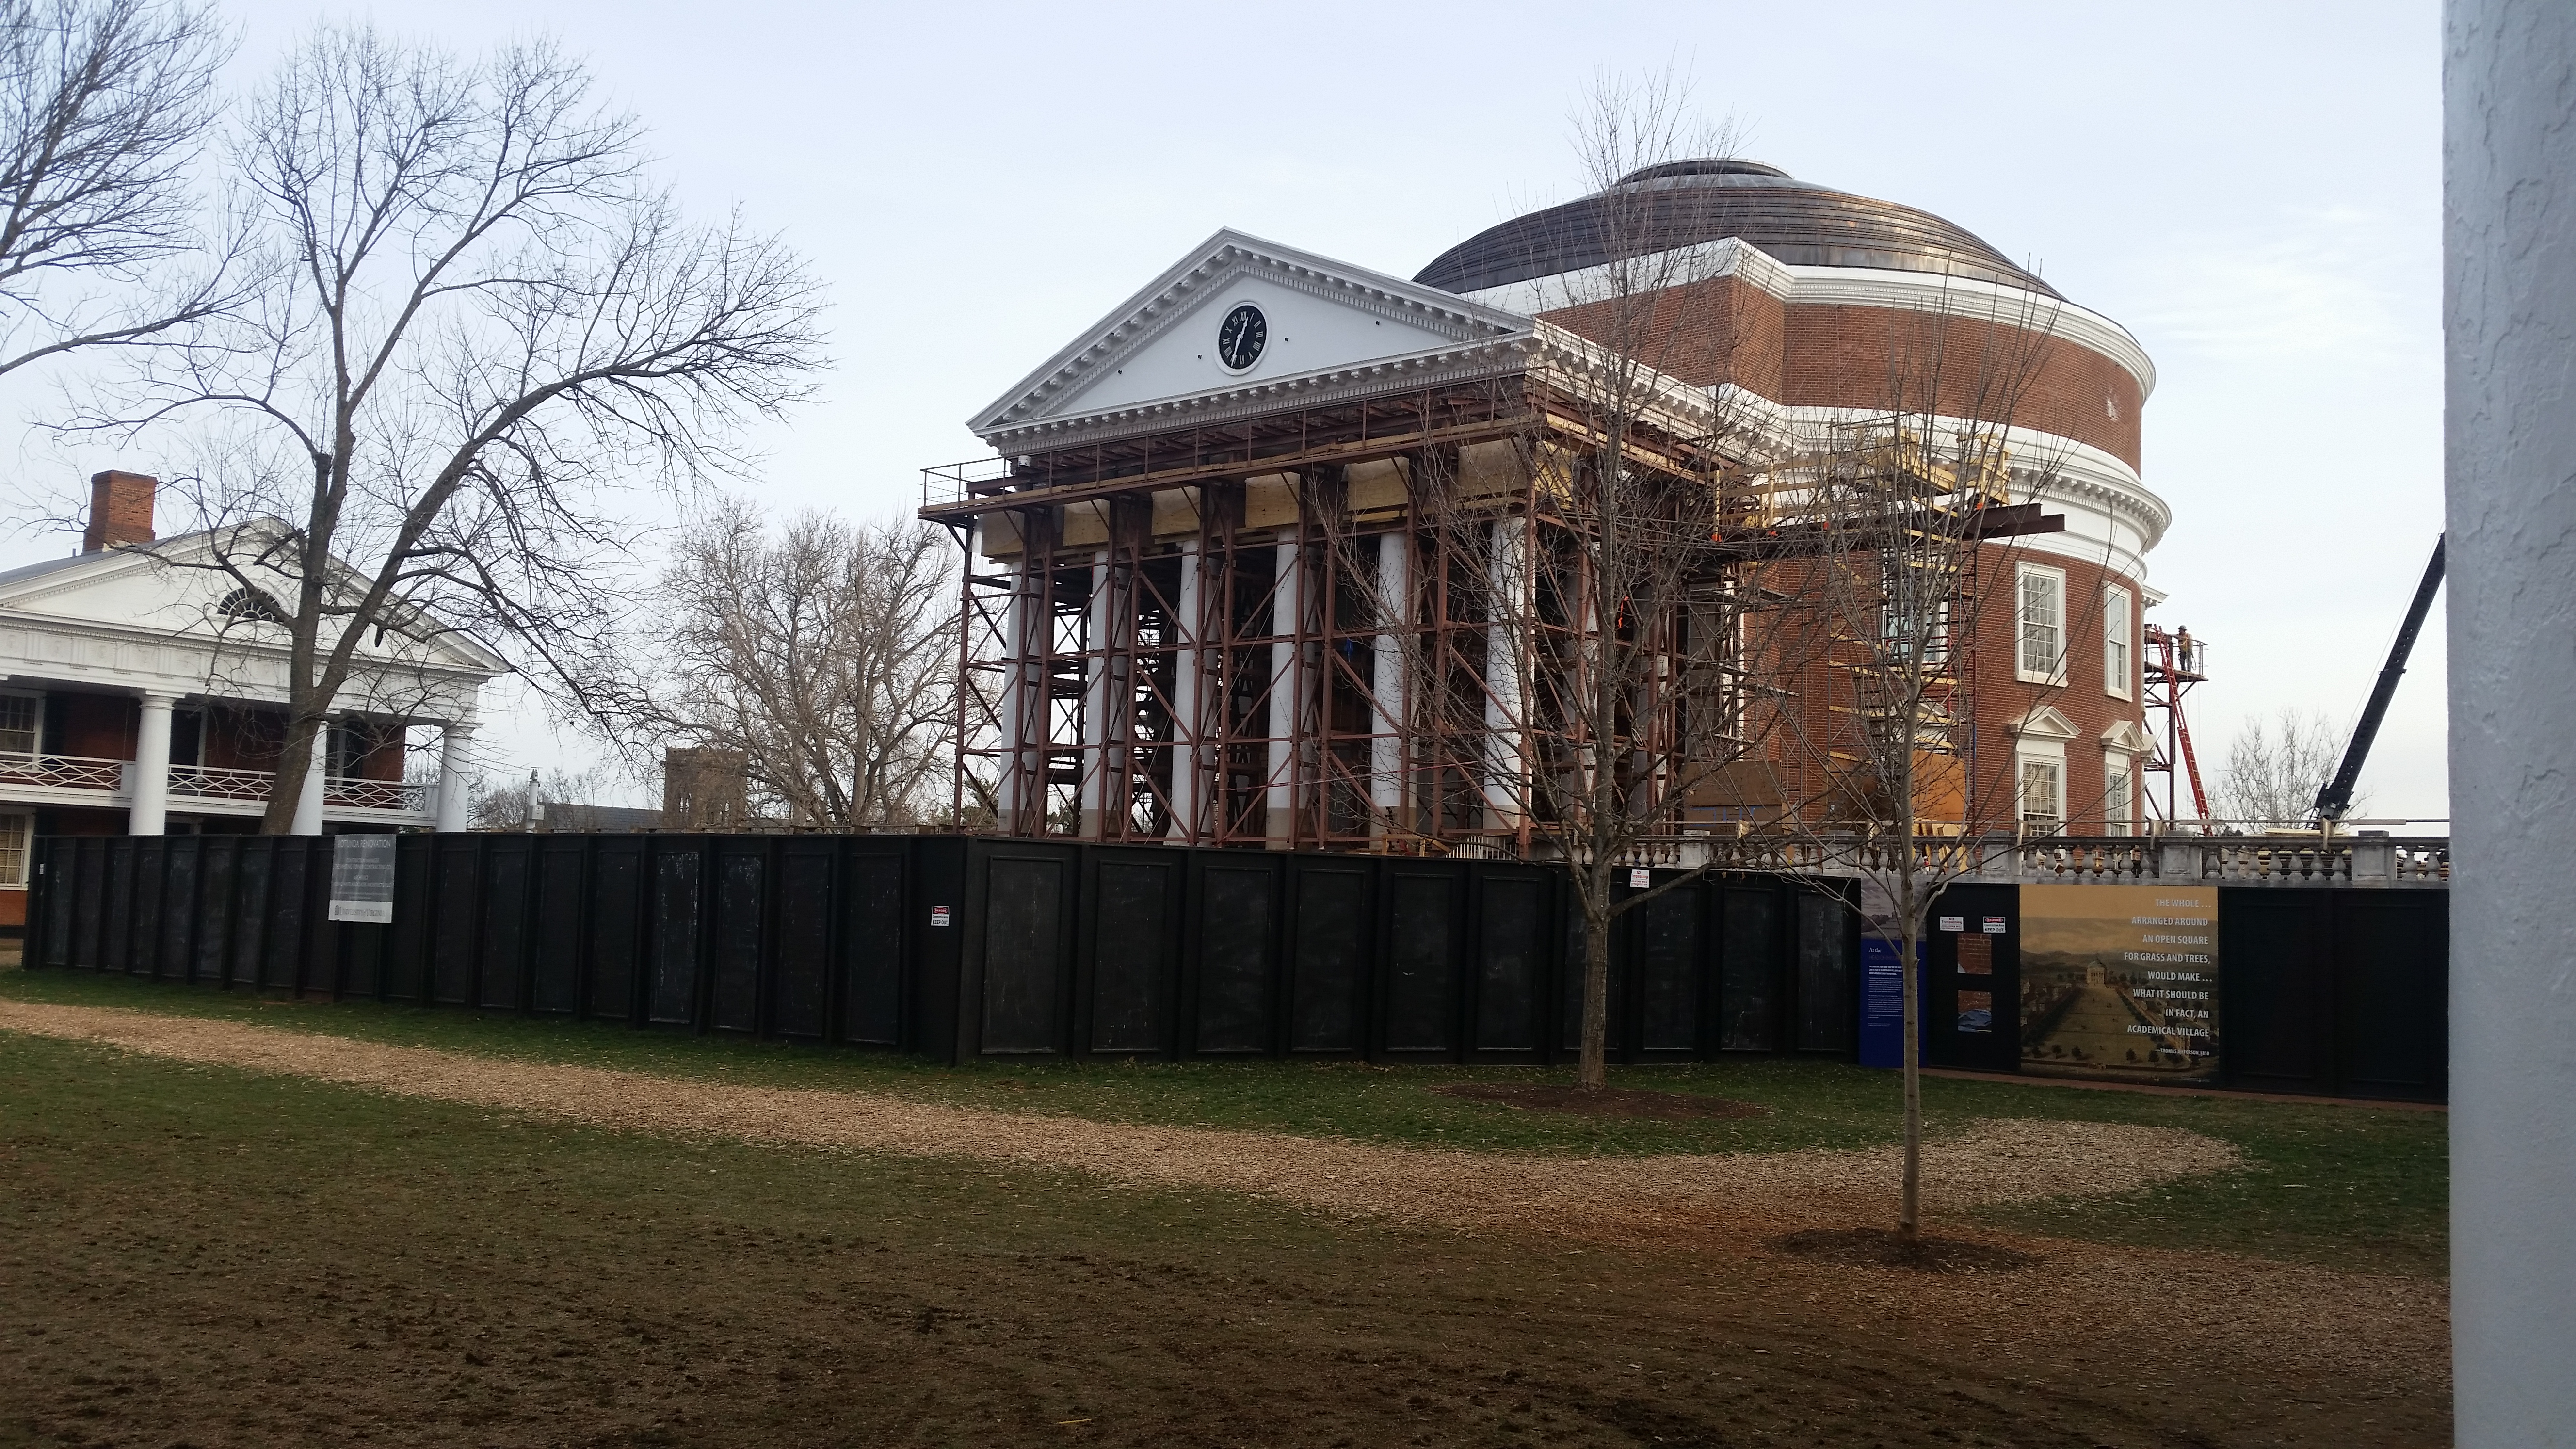
Almost 200 years ago, Jefferson created his vision for the Academical Village. The Rotunda, inspired by the Pantheon in Rome was originally finished in 1826. In 1853 an addition was built on the rear of the building and in 1895 it burnt due to an electrical fire. It was rebuilt and modified by Stanford White in 1899.

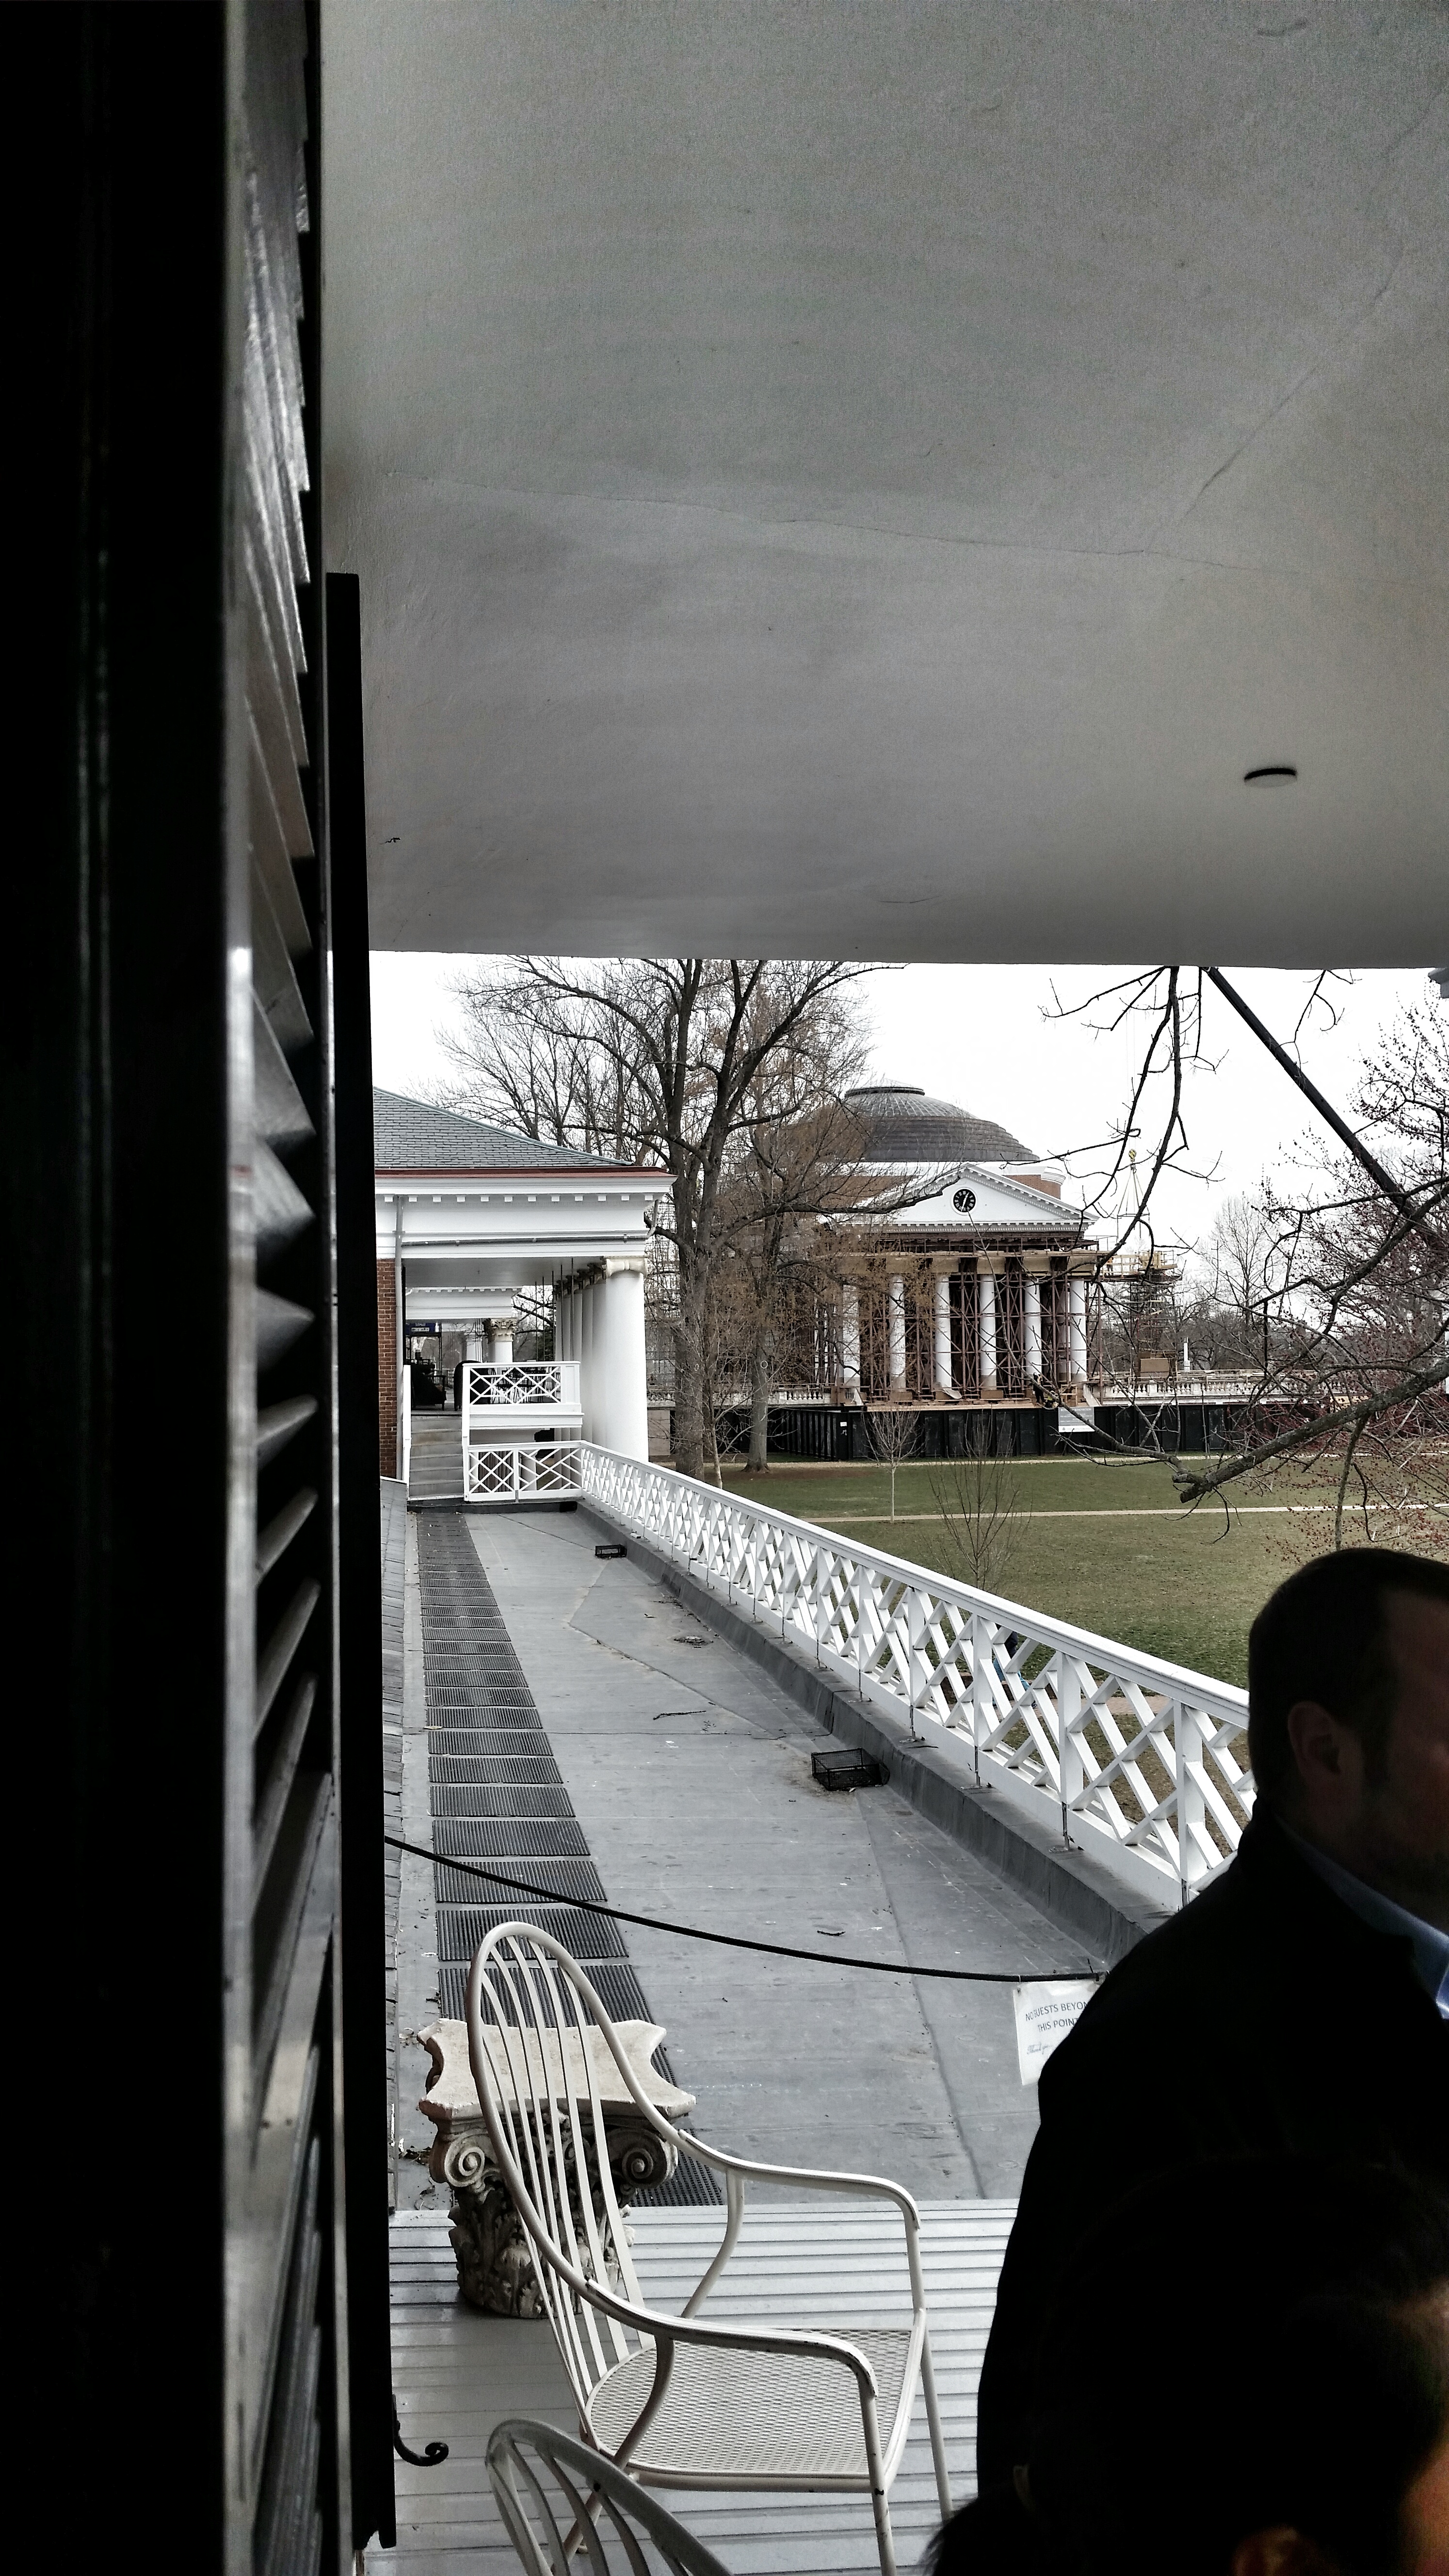
Now the building stands in a sea of scaffolding as it is once again being repaired and restored.
As we walked the lawn, we noticed George Washington has an energy drink – must have been a long night.

Stanford White also designed Cabell Hall, Cocke hall, and Rouss Hall that are at the opposite end of the Lawn from the Rotunda. It was Jefferson’s vision to leave the end of the lawn open – symbolizing the idea that one is never finished learning. The open view was unfortunately closed in with these new buildings at the direction of the Board of Directors.

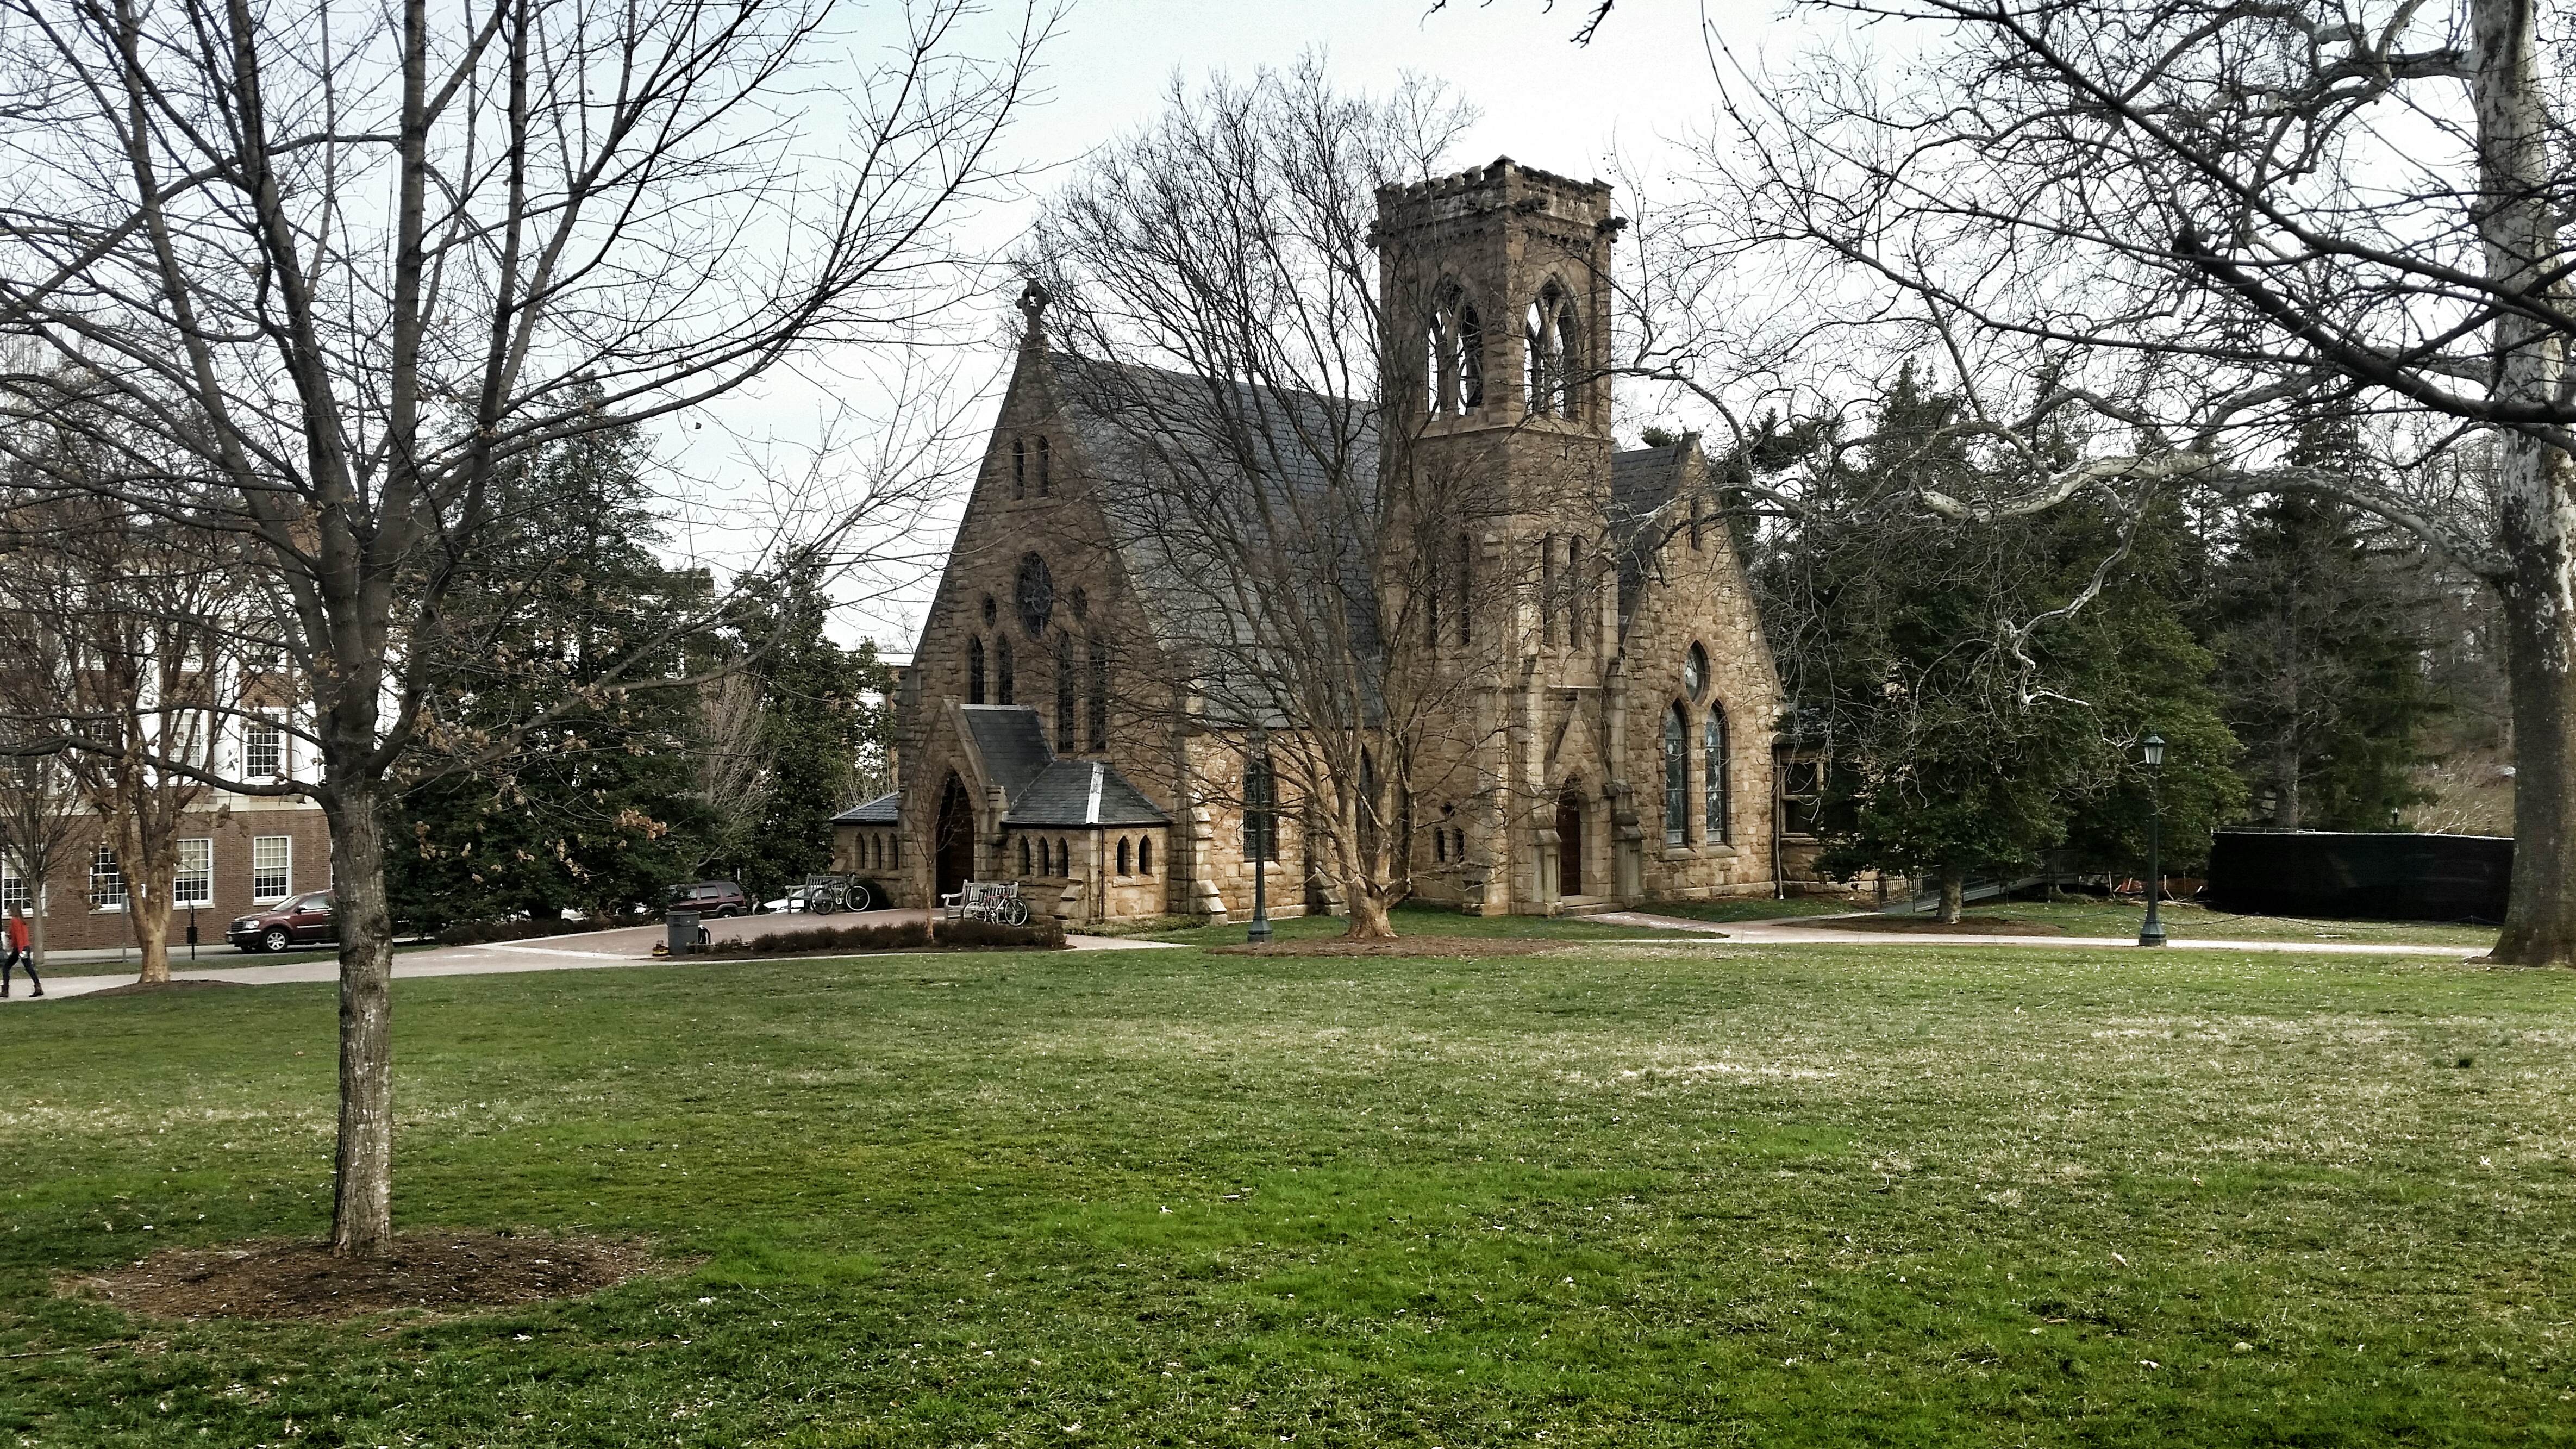
The UVA Chapel, in a Gothic Style, was built on grounds in 1890. It was designed by Charles Cassell. While many universities of the time had the religious building as the main focus of the campus, Jefferson believed that the Library (Rotunda) should be the heart of the University.


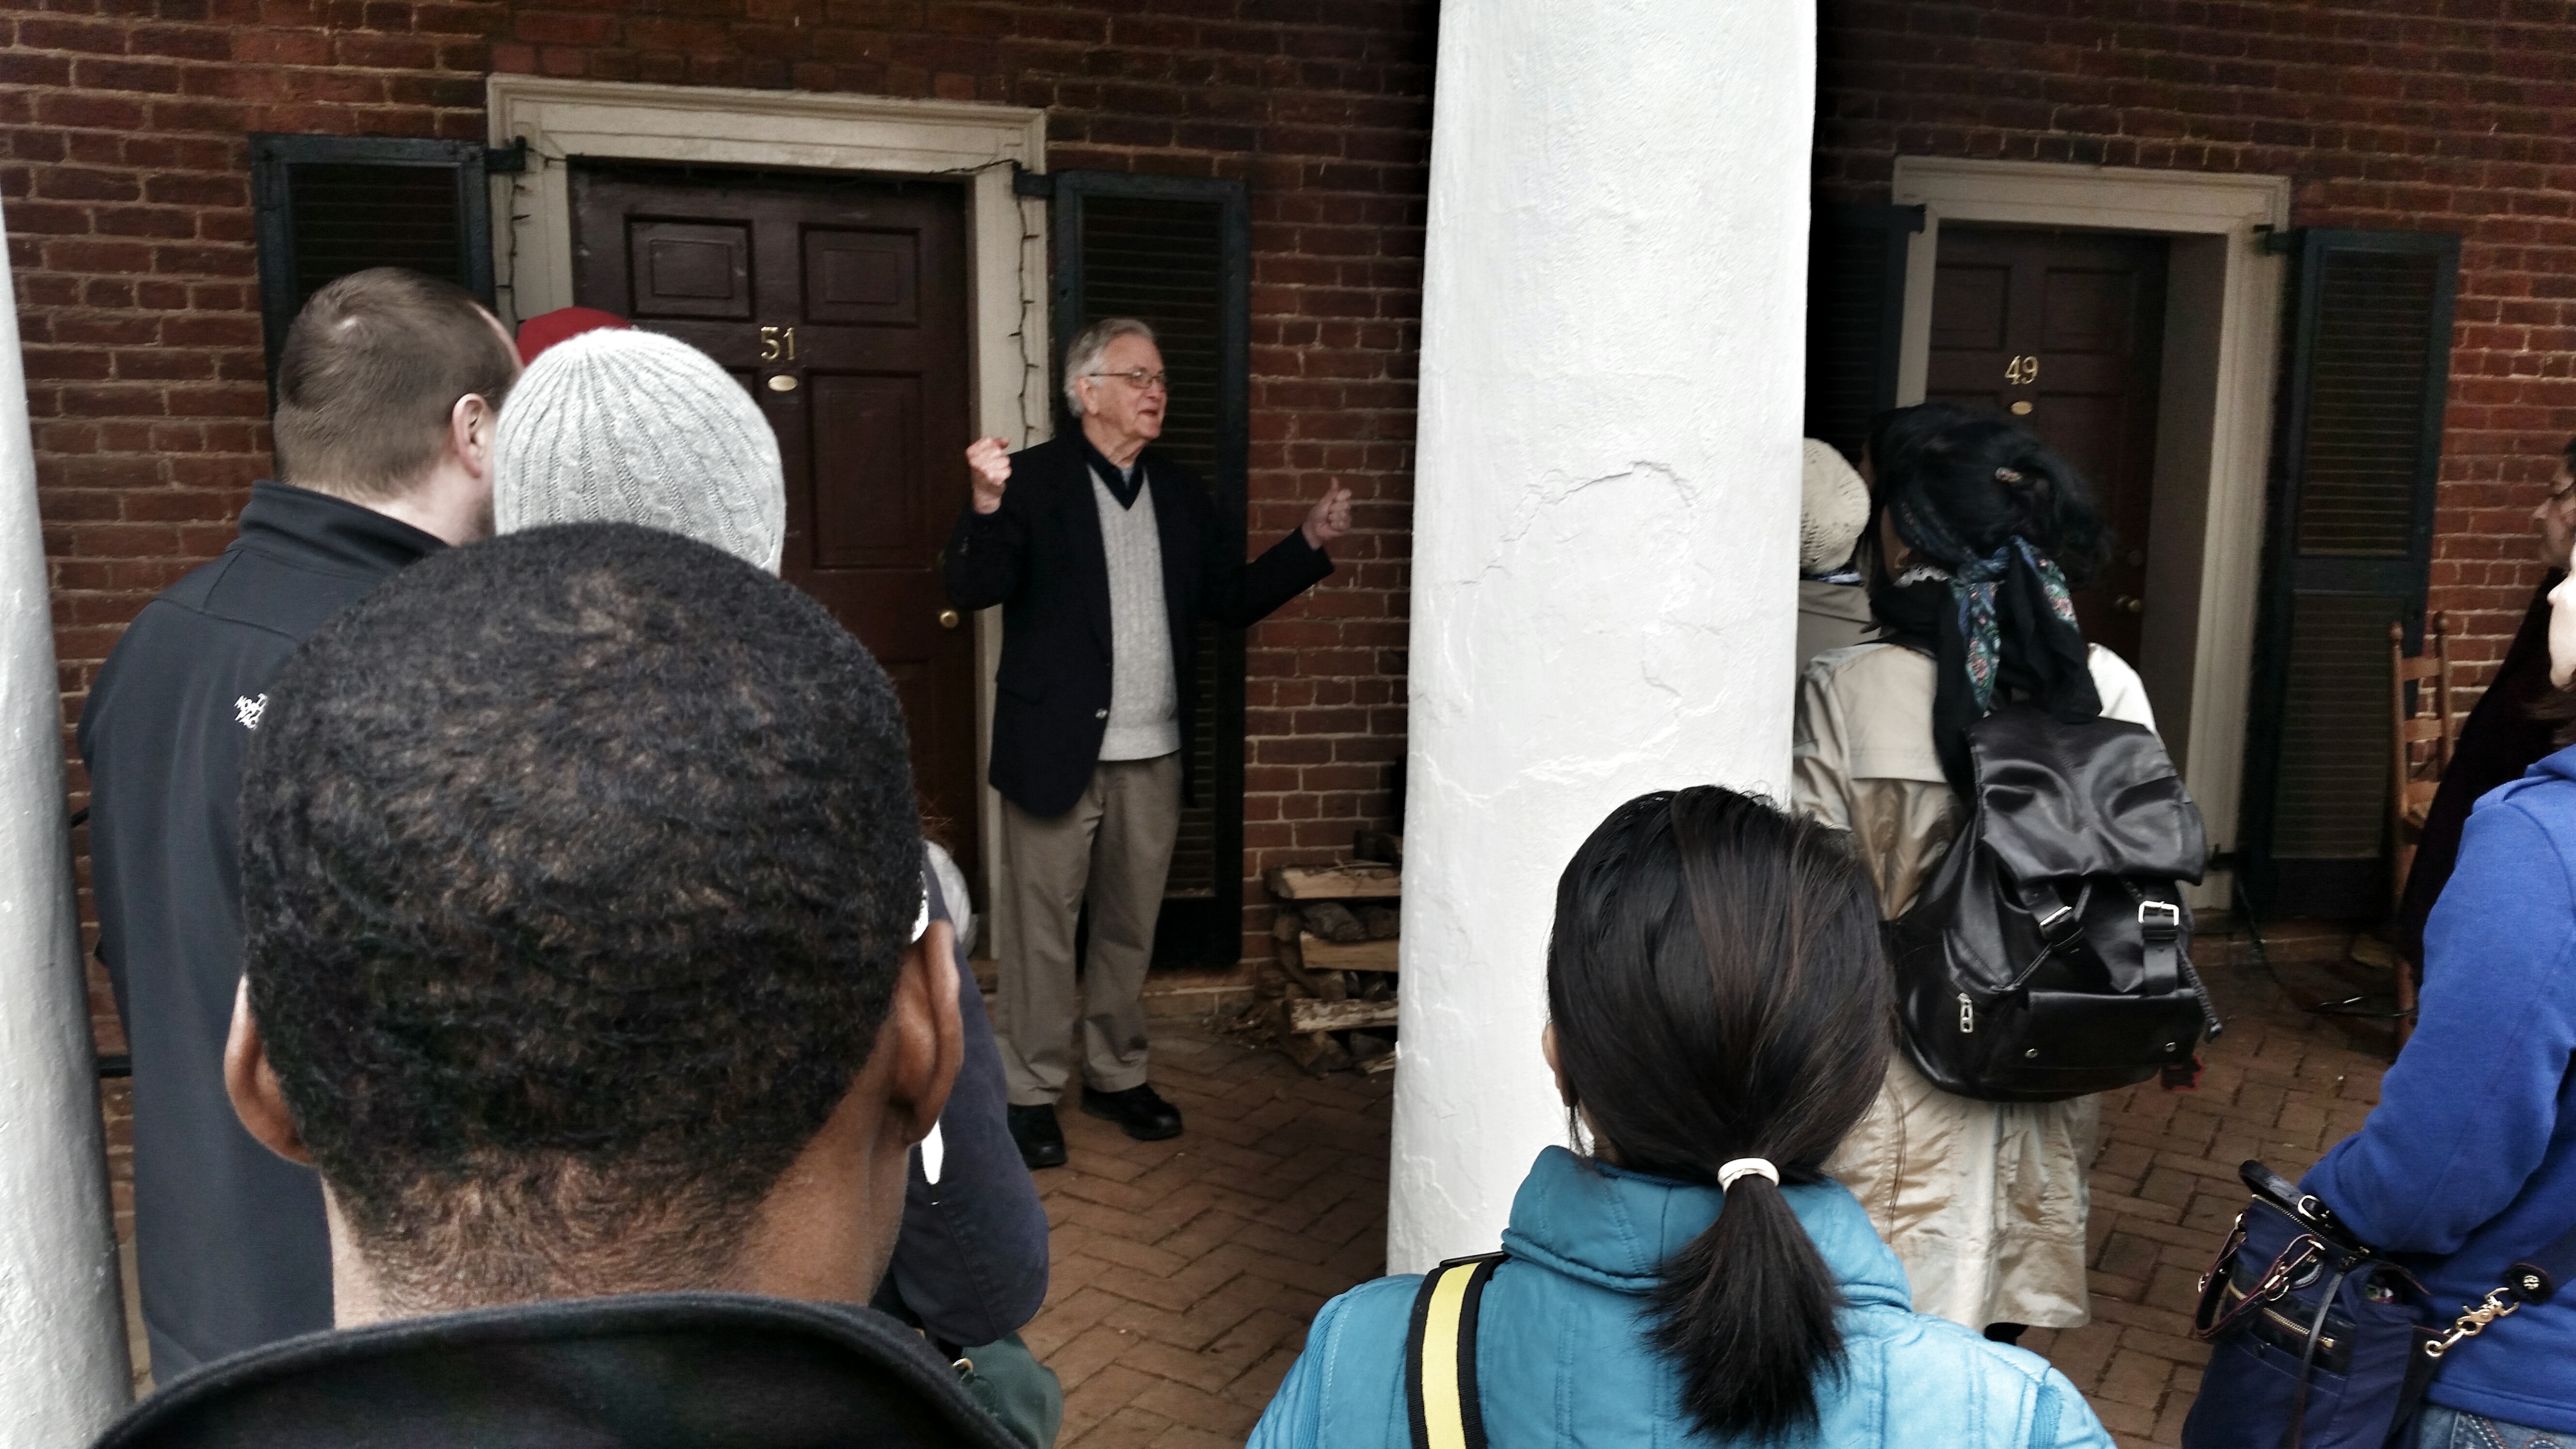
Author and Professor Emeritus Edward Lay led a wonderful tour. He shared many stories, ideas, and of course historical facts.

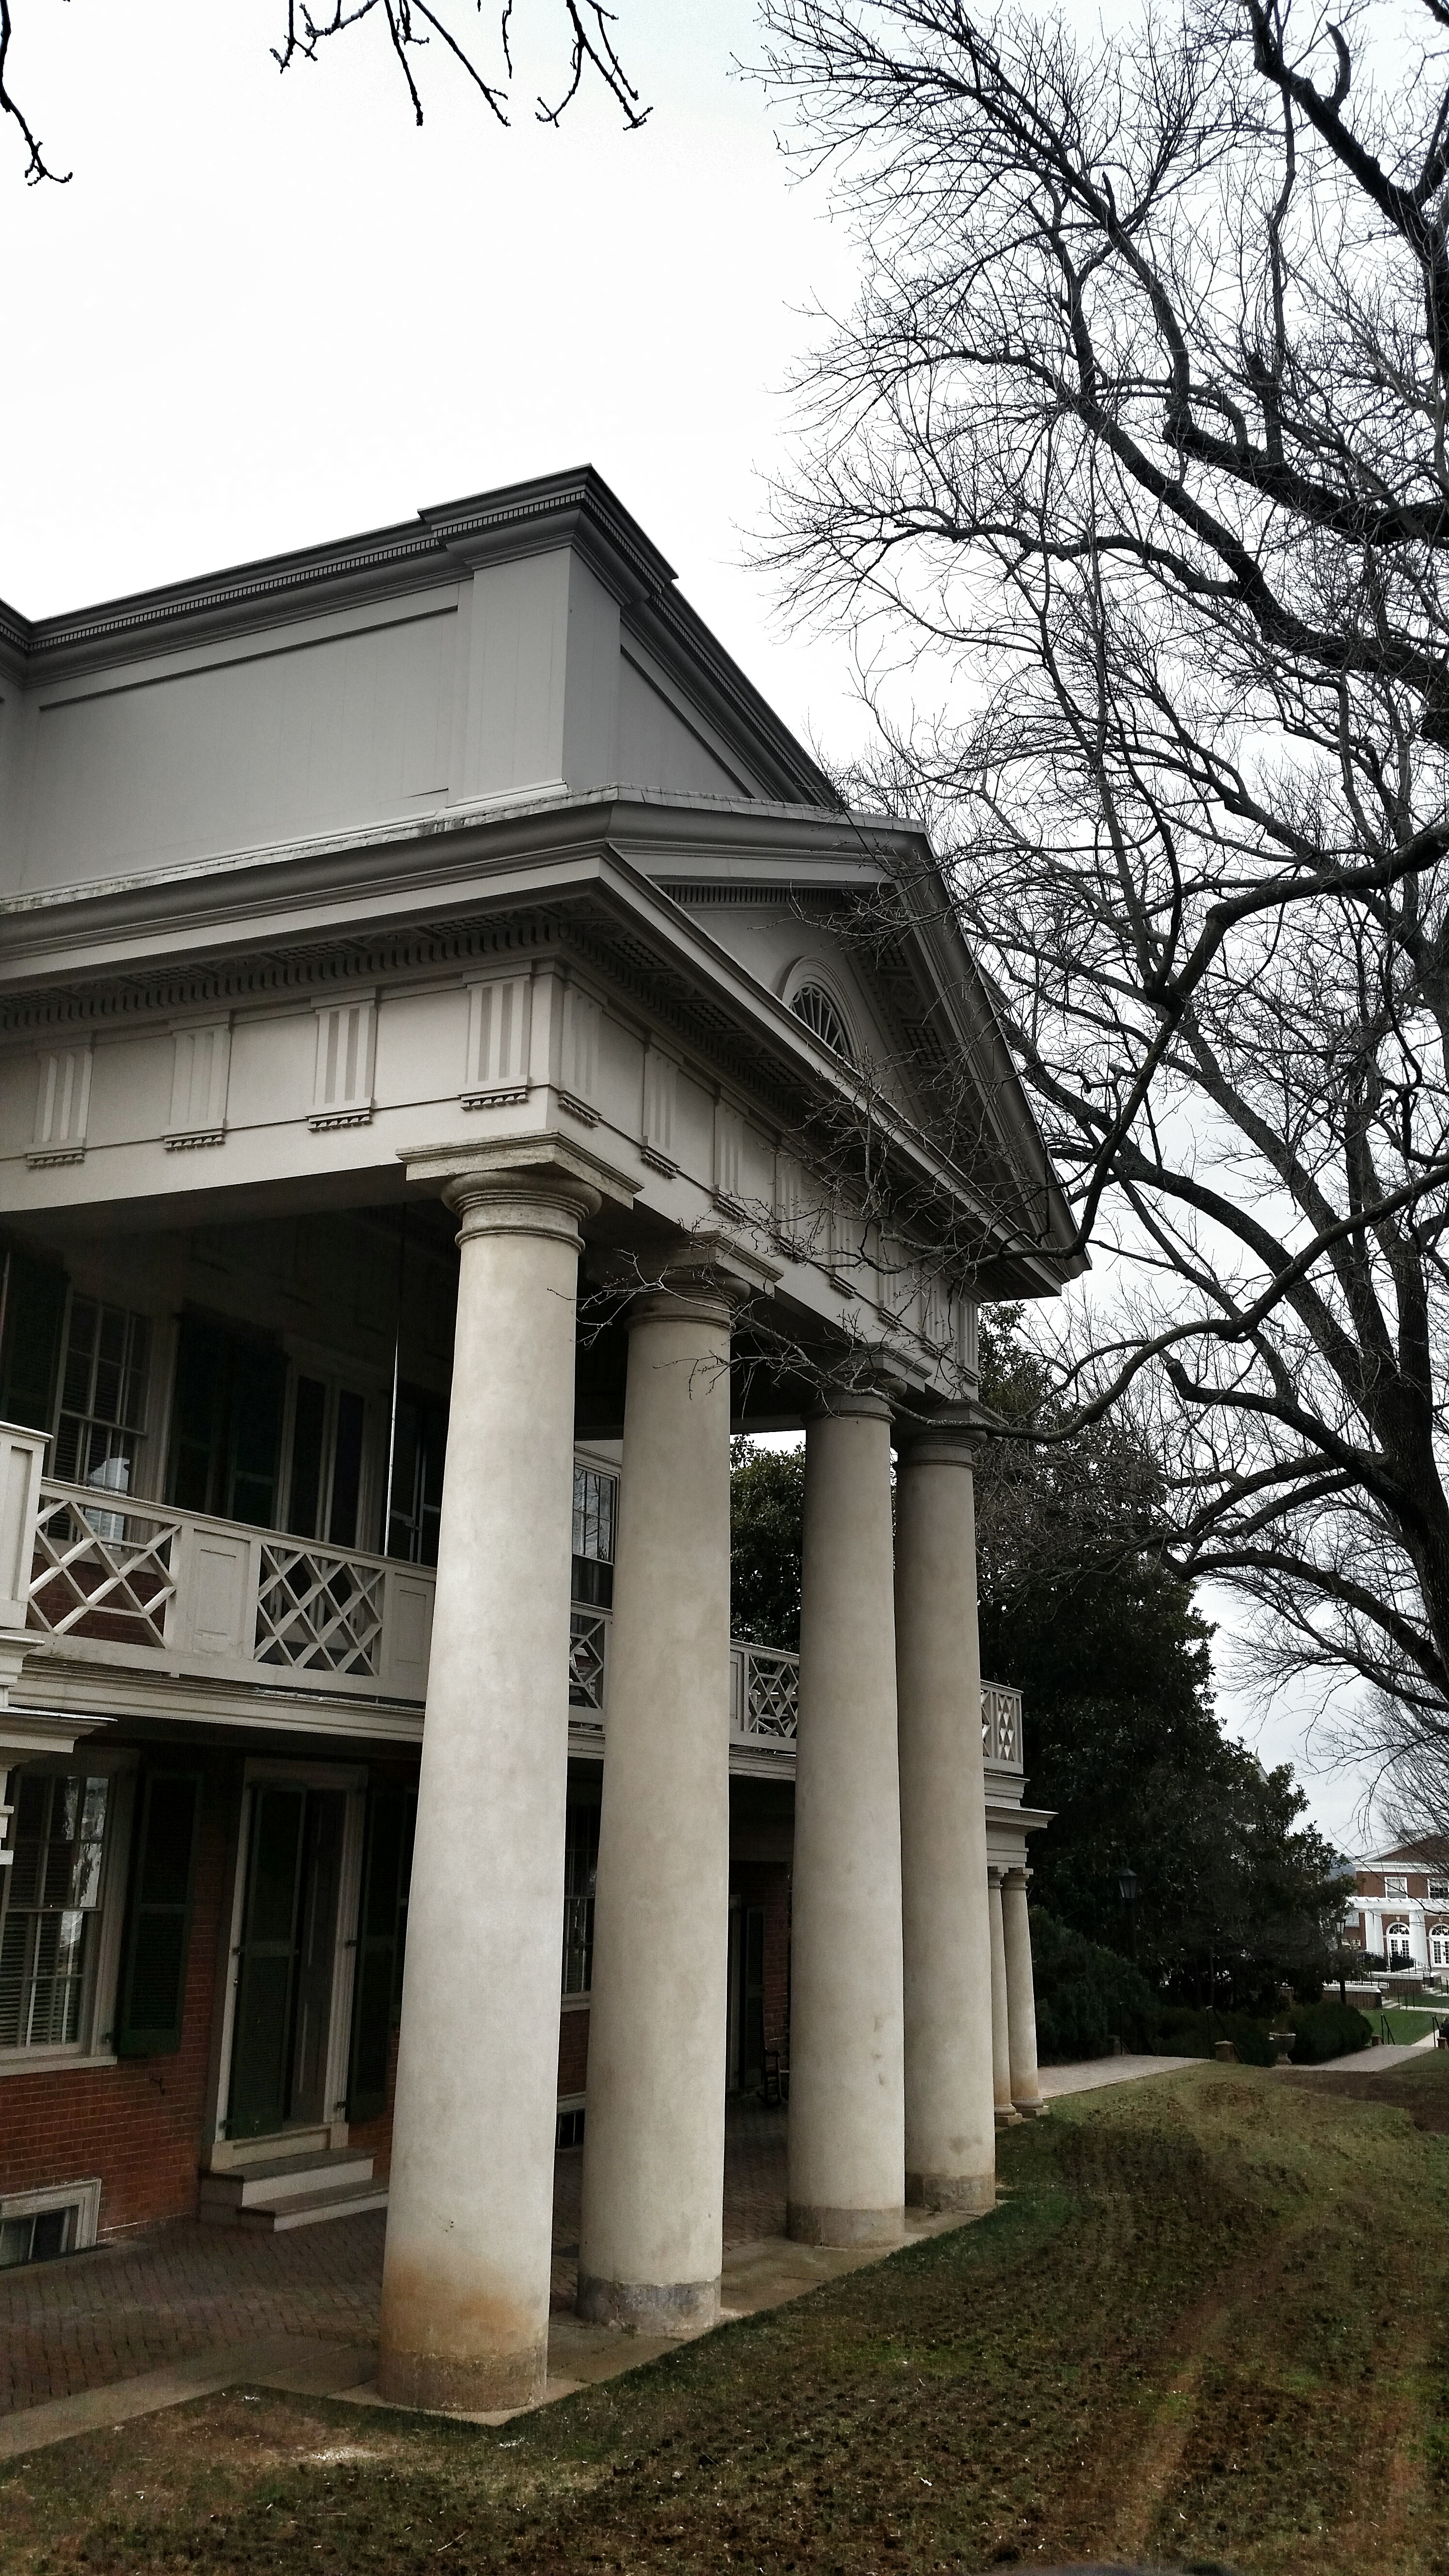
Pavilion X has been restored to include the attic parapet and flat roof as Jefferson originally designed it. It also no longer has the glossy white paint taking on a more sand tone closer to what would have been done originally. This is the first in a series of future renovations to bring the Lawn back to the original design – of course – pending board of visitors approval.

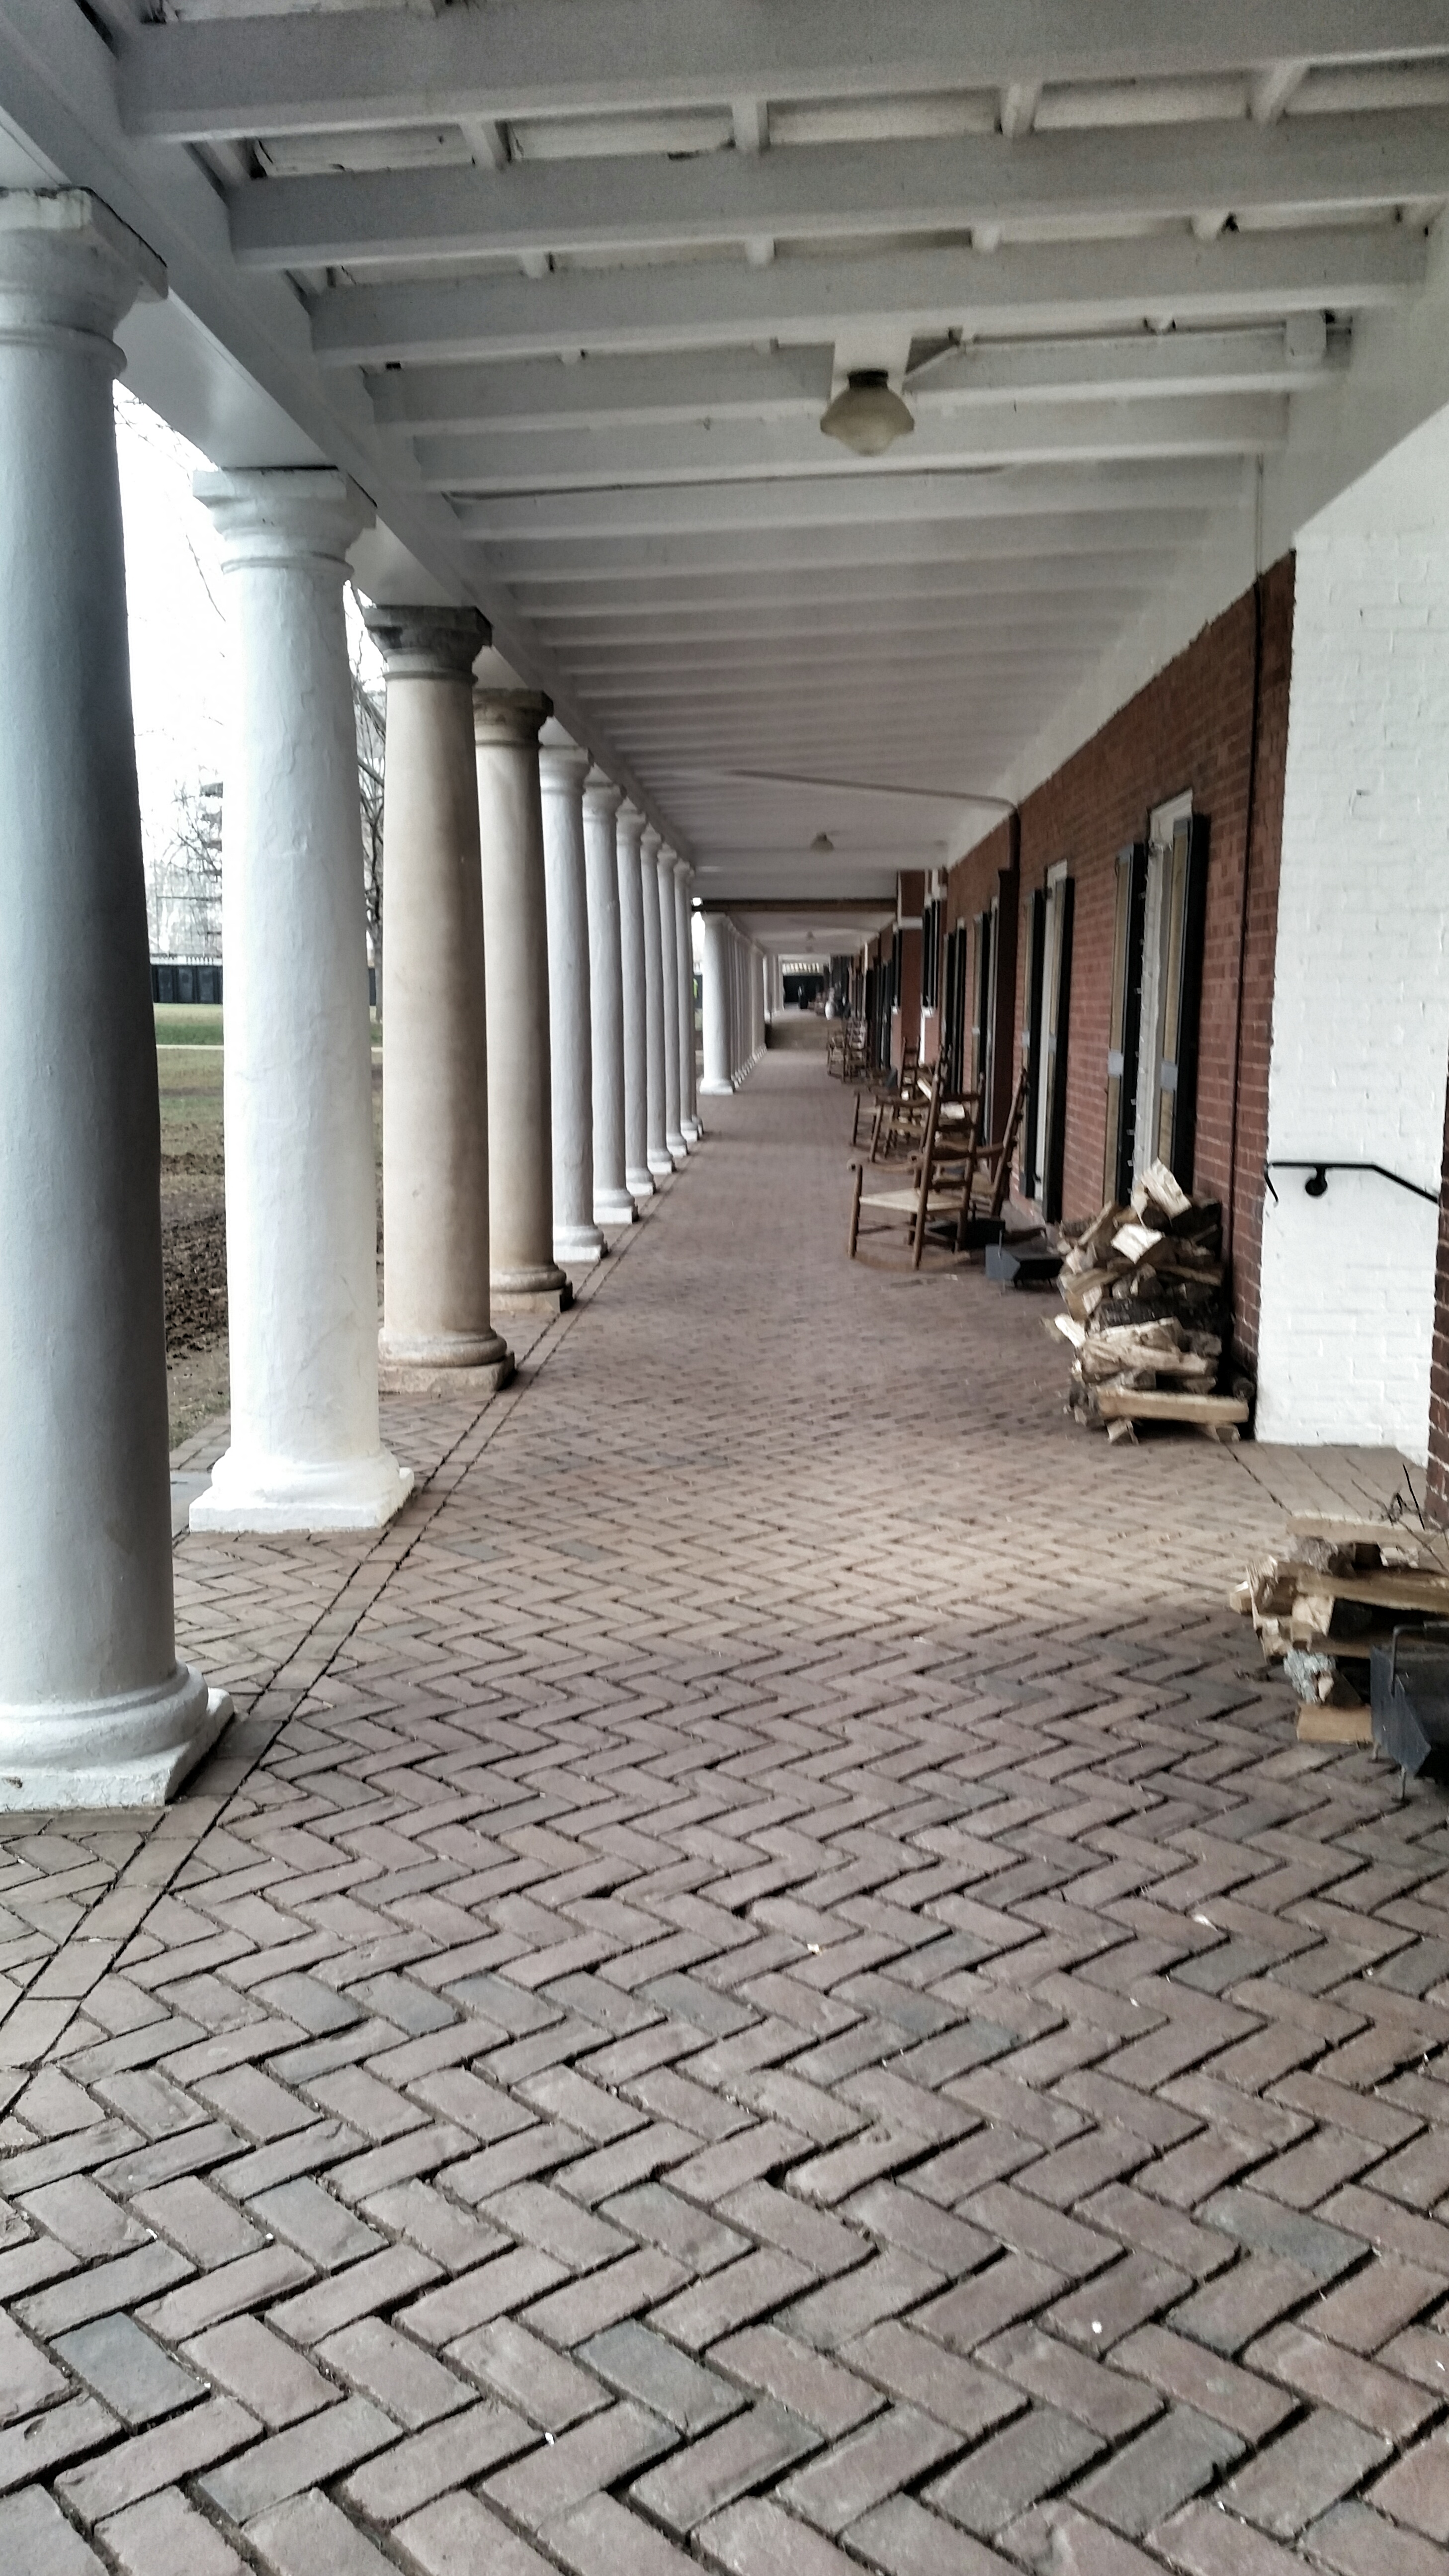
Jefferson created the Academical Village to include student rooms between faculty housing. In the lower level of the faculty housing was the classroom, the upper level the living quarters. Each Pavilion (faculty house / classroom) has a distinct architectural manifestation as Jefferson believed that all students should understand great architecture.

Professor Lay had lots of stories about materials used, architectural precedents, and life on the Lawn. His stories about duels, shootings, beatings, and parties on the lawn are beyond entertaining. Life on the lawn today moves at a much simpler pace.

We also got the rare treat of visiting the balcony of the Colonnade Club. This second level space on the lawn is considered to be private for the faculty.


What appears to be perfect symmetry along the lawn, is actually perfect asymmetry with no two things exactly matching. The column spacing changes, bricks change, pavilions are all different, capitals all different, and even space between pavilions change along the lawn. Jefferson did this to take an irregular terrain to make it look regular and very formal. He wanted to expose those in Virginia to high design and to do this, needed to use some illusion to achieve the right formality.

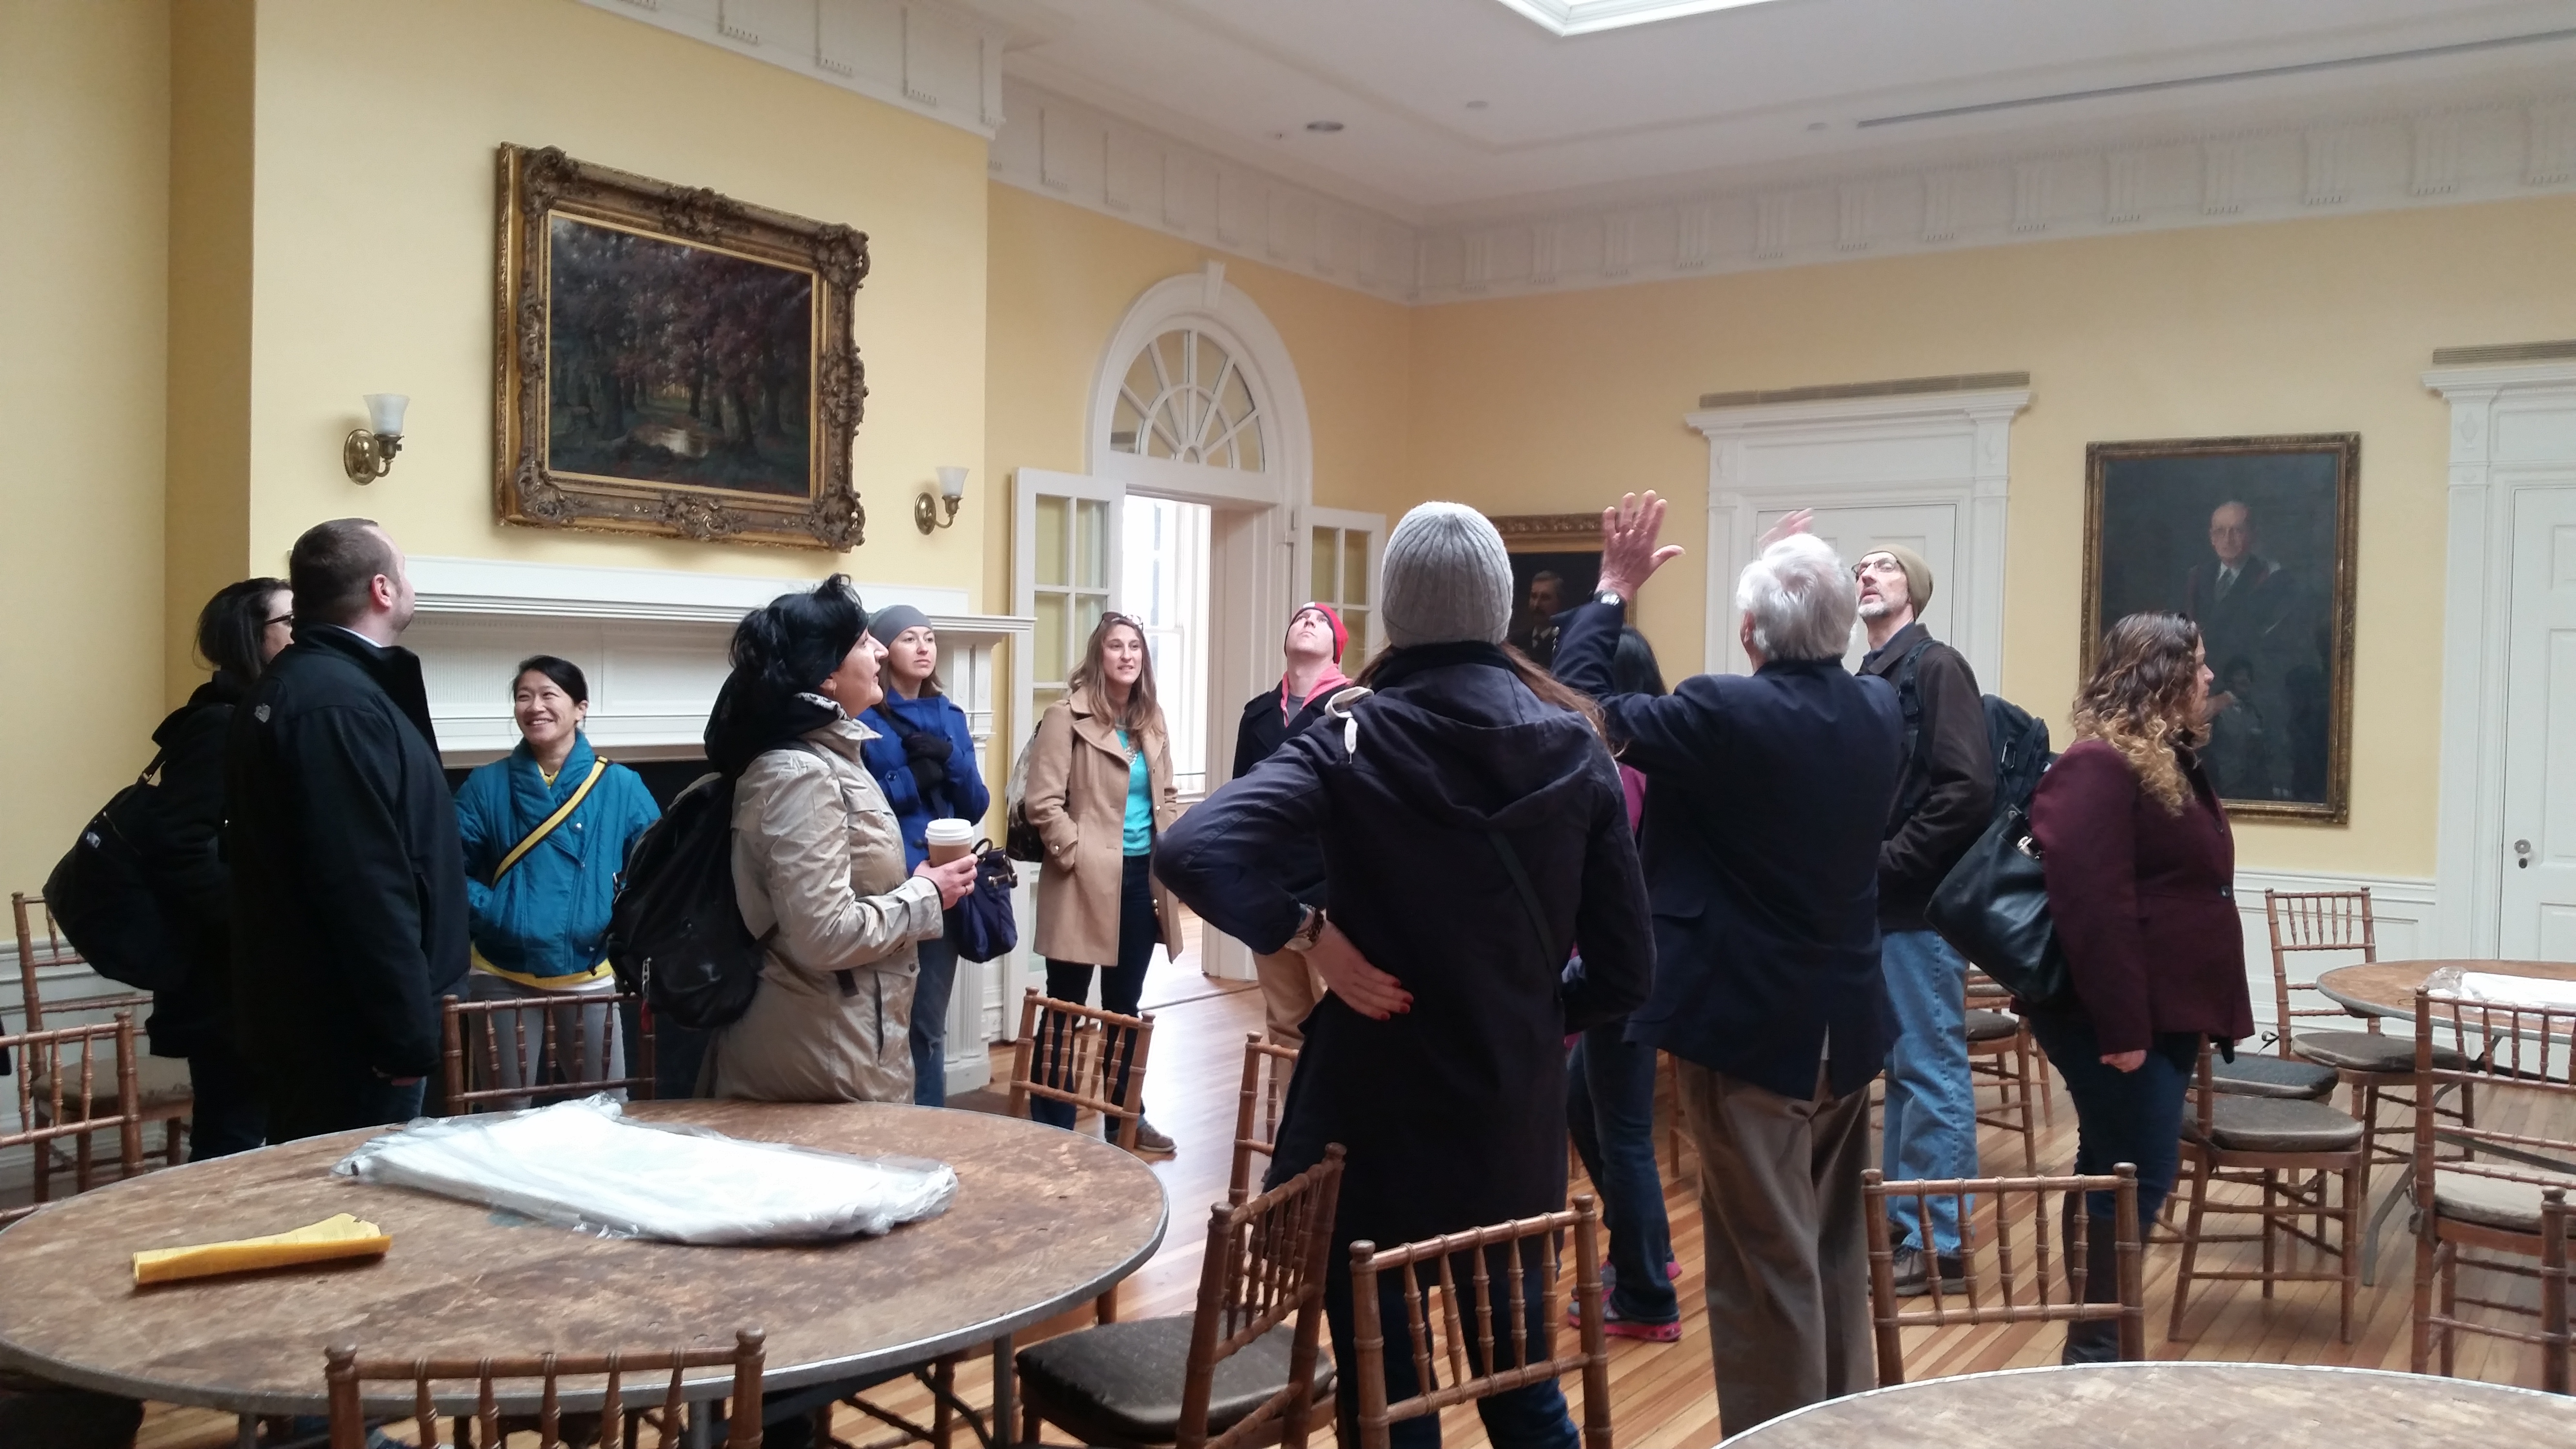
Inside the Colonnade Club we were given a glimpse of what is original and what was added as times changed.

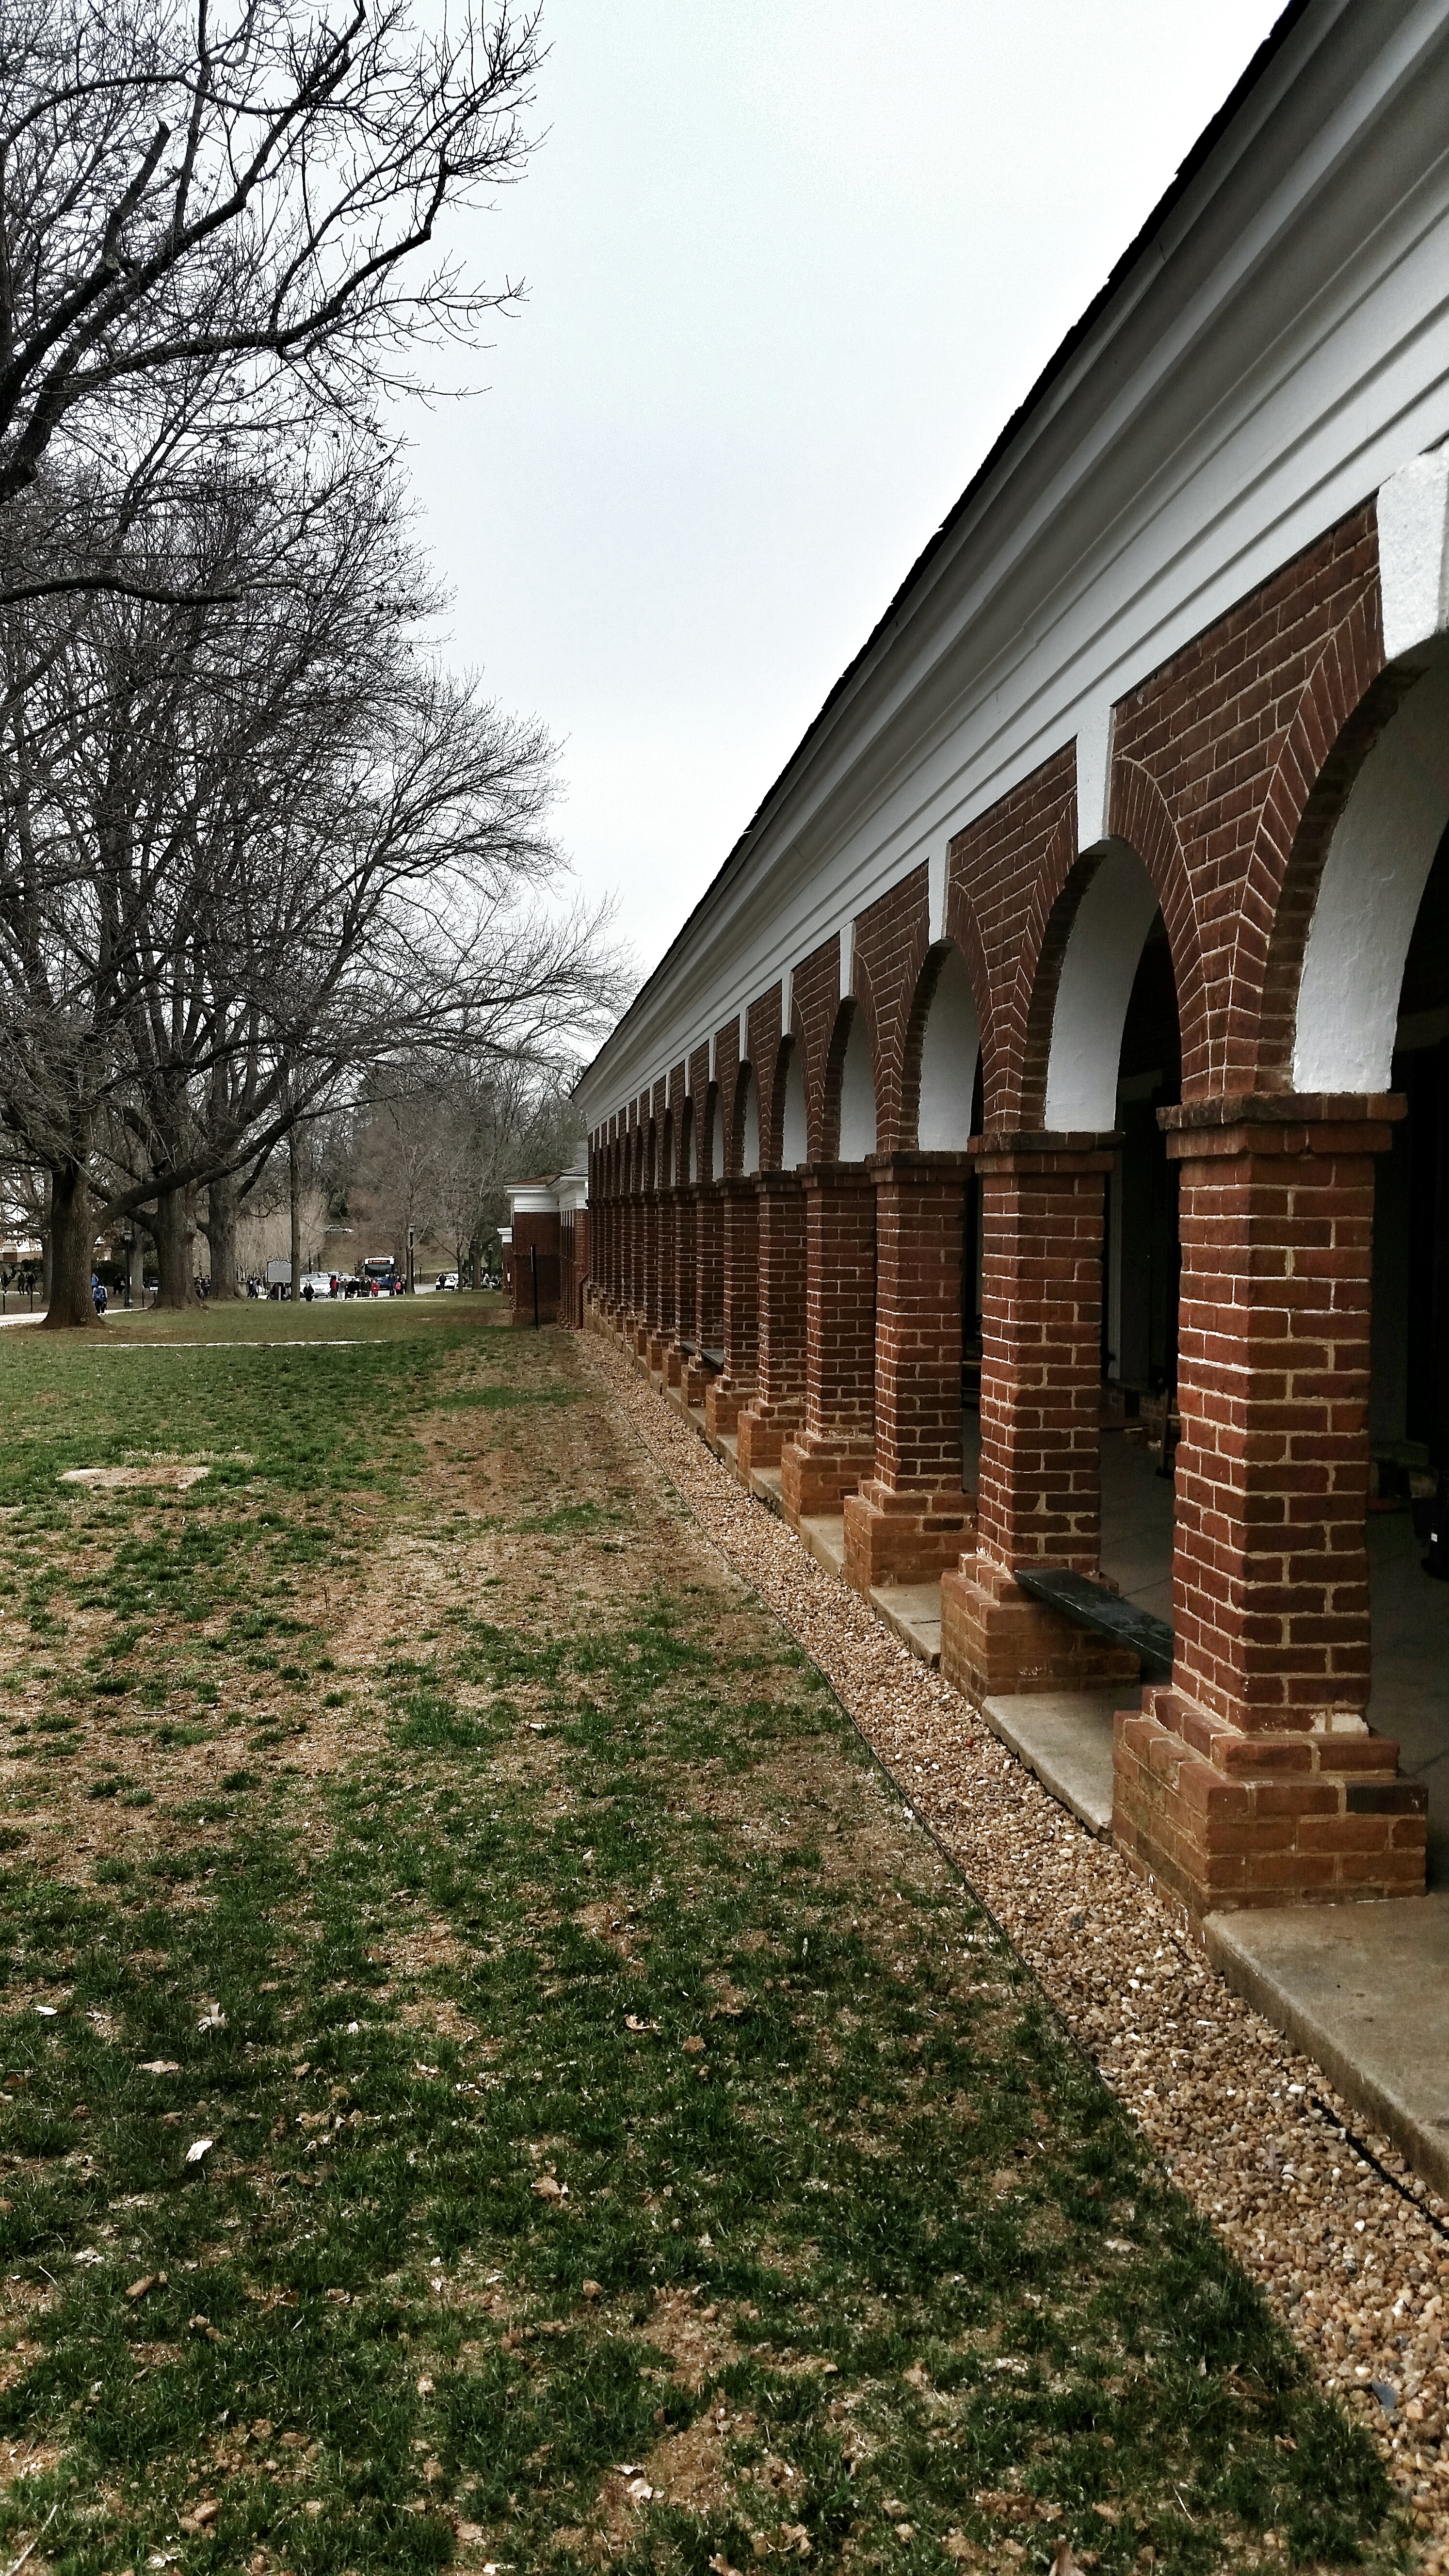
Range rooms on the outside of the Academical Village were also used to house students. Here we visited Edgar Allen Poe’s Room.

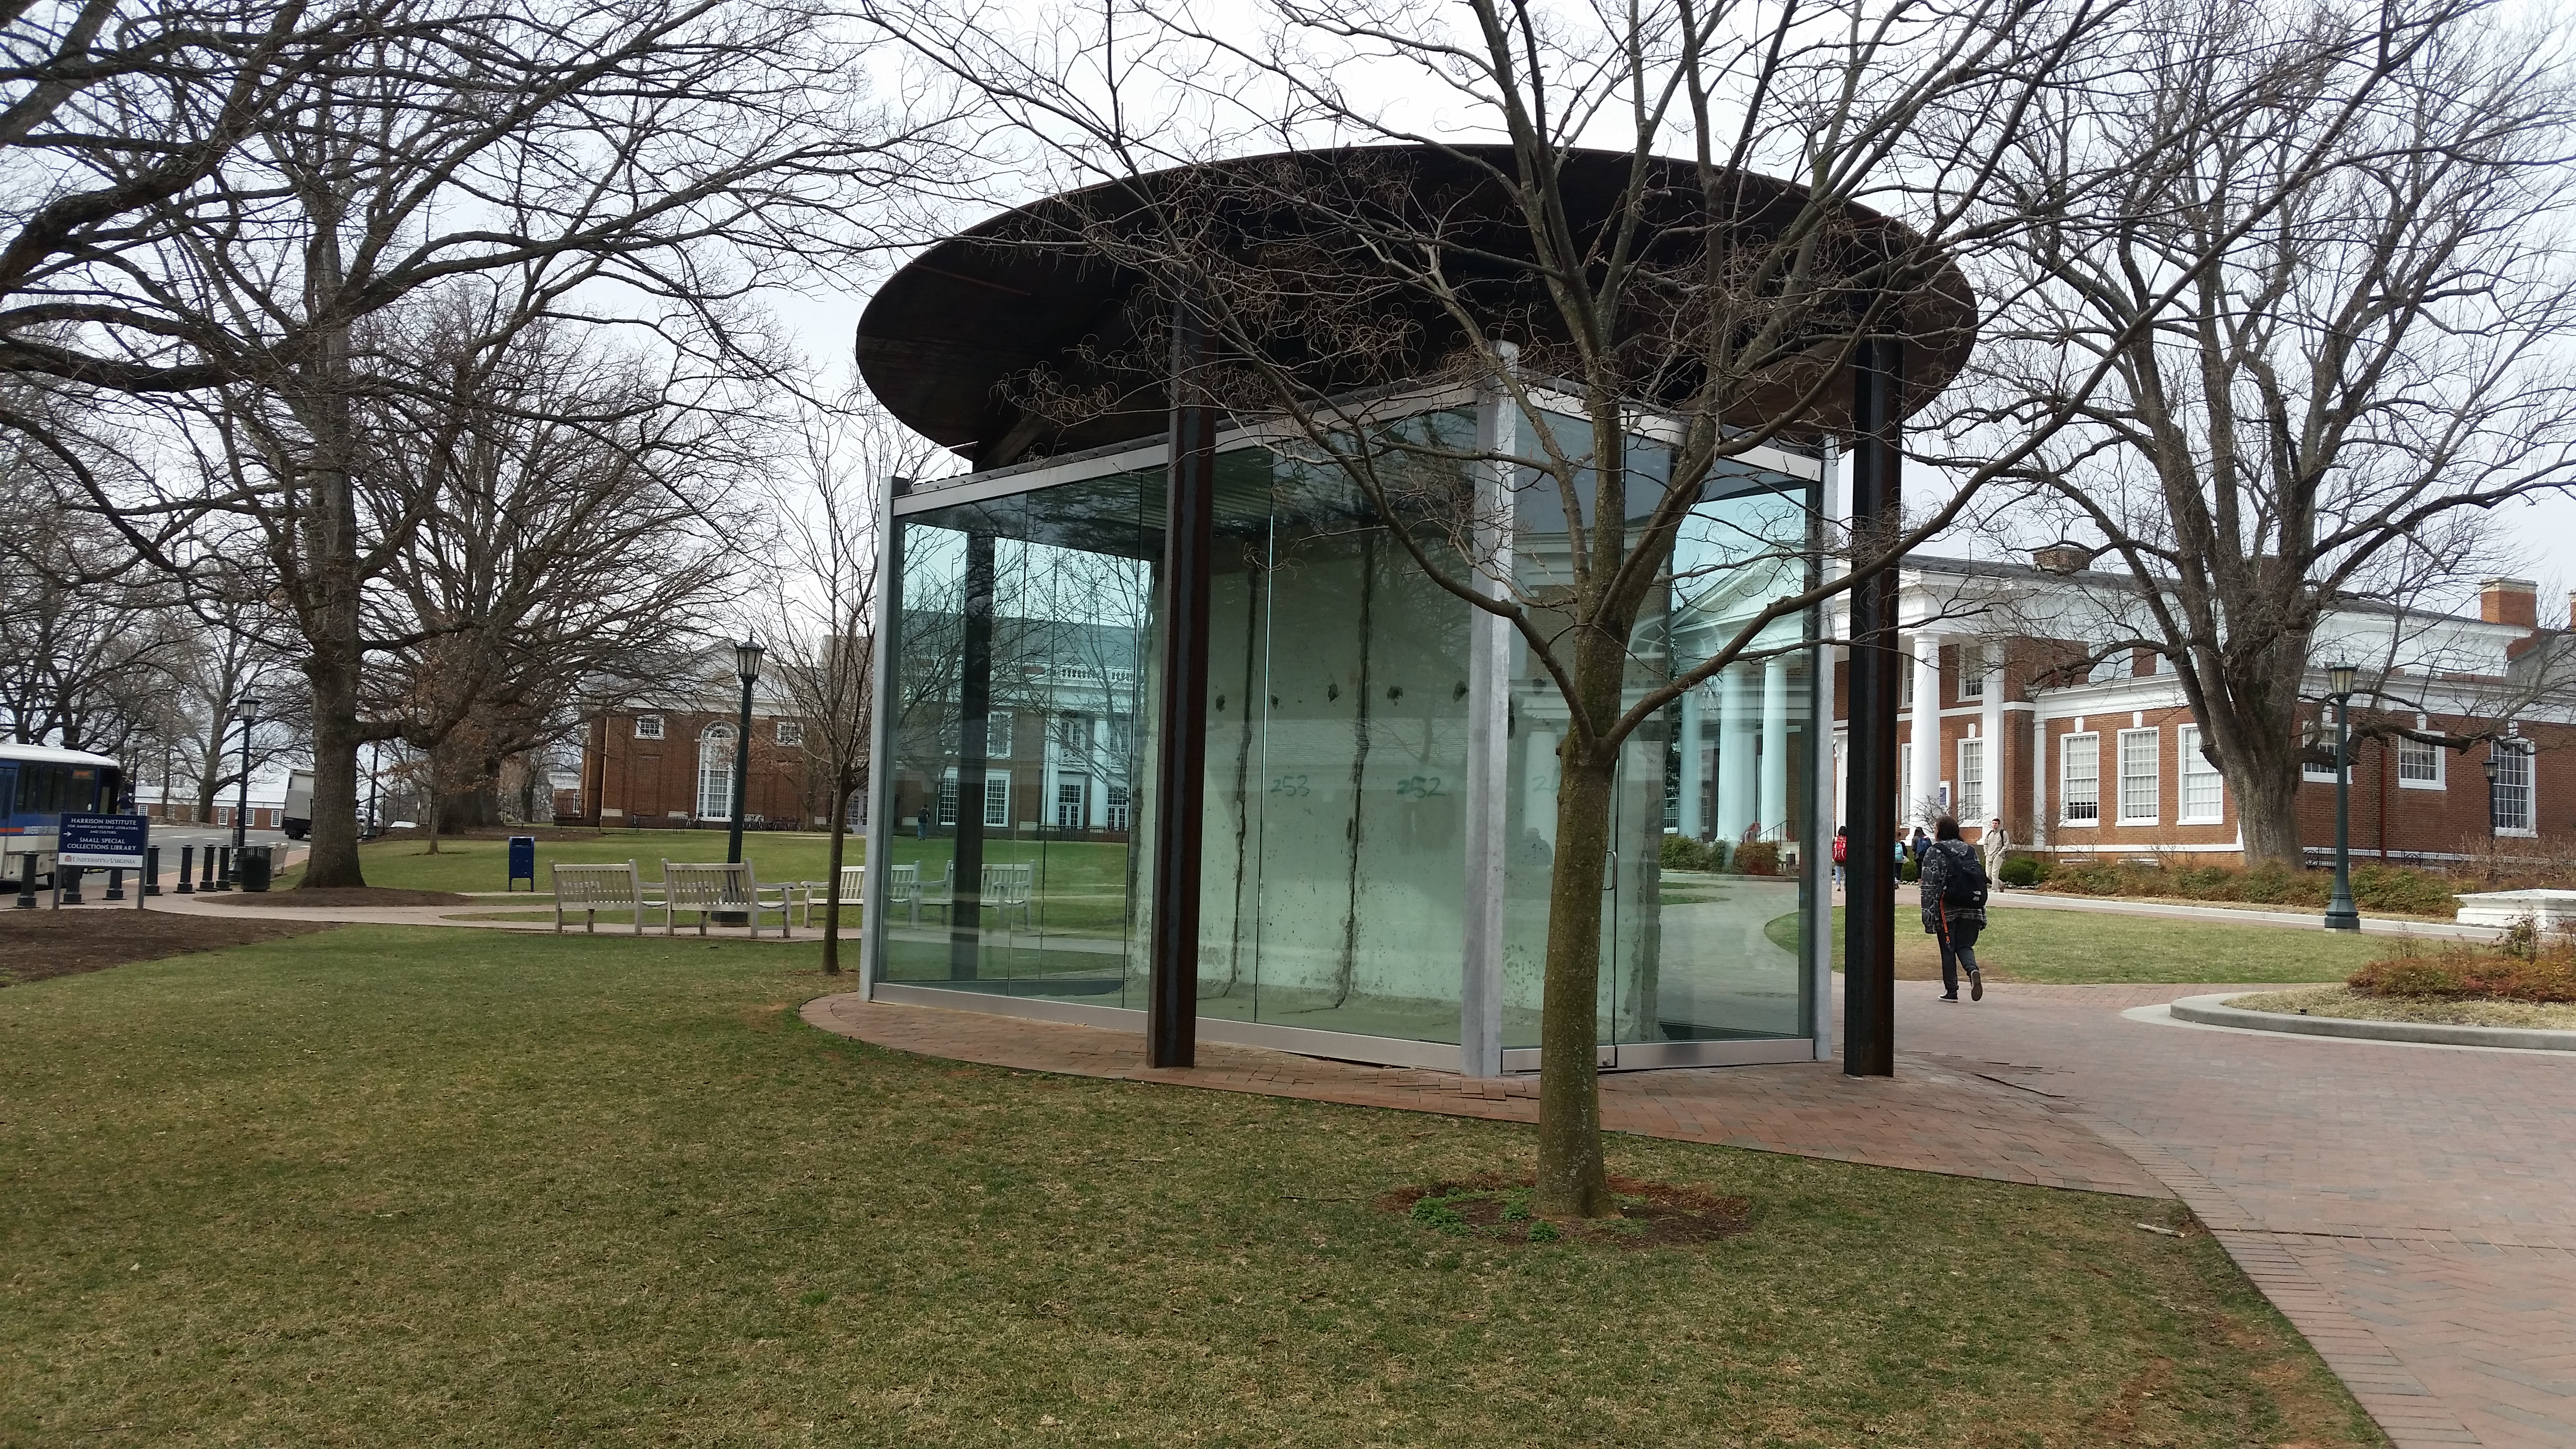
In front of the library there is a display of the Berlin Wall. Two sides of the same wall show the stark contrast that existed in the two Berlins in this display.


We even had a chance to meet a celebrity while waiting on our bus. What a wonderful day of architectural delights.

by harrisonburgarchitect | Mar 23, 2015 | architecture, Harrisonburg Architect
Green Term Defined: Renovation

We know a lot about how to build a new building that is very energy-efficient, healthy, and durable. However, no matter how good we can build new structures, saving an existing building is almost always better for the environment. Unless the existing structural system is beyond repair or the existing building contains toxic elements.

Renovation is the act of repurposing / updating / remodeling of a building.

There is no question, it is easier to build a new building to the highest standards than it is to take an old building to the same standard. However, the embodied energy is much lower when renovating a building vs building new. A National Trust study found it can take more than 10 years for a new energy-efficient building to overcome the negative climate change impacts caused during the construction process. There is a tremendous amount of energy in the existing building from footings, foundations, materials, energy to create new materials, transportation of those materials and on and on not to mention energy to demolish the existing building.

by harrisonburgarchitect | Mar 20, 2015 | citizen architect, community, Harrisonburg Architect, Rotary
Harrisonburg Soap Box Derby Car Build Clinic

There are many new activities coming to the SVBA Home and Garden Show this year. One of the most unique is a build clinic to help kids get their skills down for the upcoming Harrisonburg Soap Box Derby. Matt Findley will lead the clinic and he is a great leader and teacher. The kids participating in the event will have a great time for sure.

The Soap Box Derby is an international nonprofit organization whose mission is to build knowledge and character, and to create meaningful experiences through collaboration and fair and honest competition. The build clinic will be April 11th at the Rockingham County Fair Grounds from 10 am – noon.

The Core Values of the Soap Box Derby are:
• Youth Education and Leadership Development
• Family Engagement and Enrichment
• Honesty, Integrity and Perseverance
• Innovation and Entrepreneurship
• Teamwork and Collaboration
• Mentoring
• Volunteerism
• Commitment to Community

This year the Rockingham Rotary Club is also hosting a movie about the Soap Box Derby that is free for kids to attend. On April 19 starting at 2pm the movie, 25 Hill, will play at Court Square Theater. 25 Hill stars Corbin Bernsen telling the story of a child who lost his dad in the war in Afghanistan, a man who lost his son in the 9/11 attacks, and how they both found personal redemption while building and racing a Soap Box Derby Car.
by harrisonburgarchitect | Mar 18, 2015 | architecture, Harrisonburg Architect
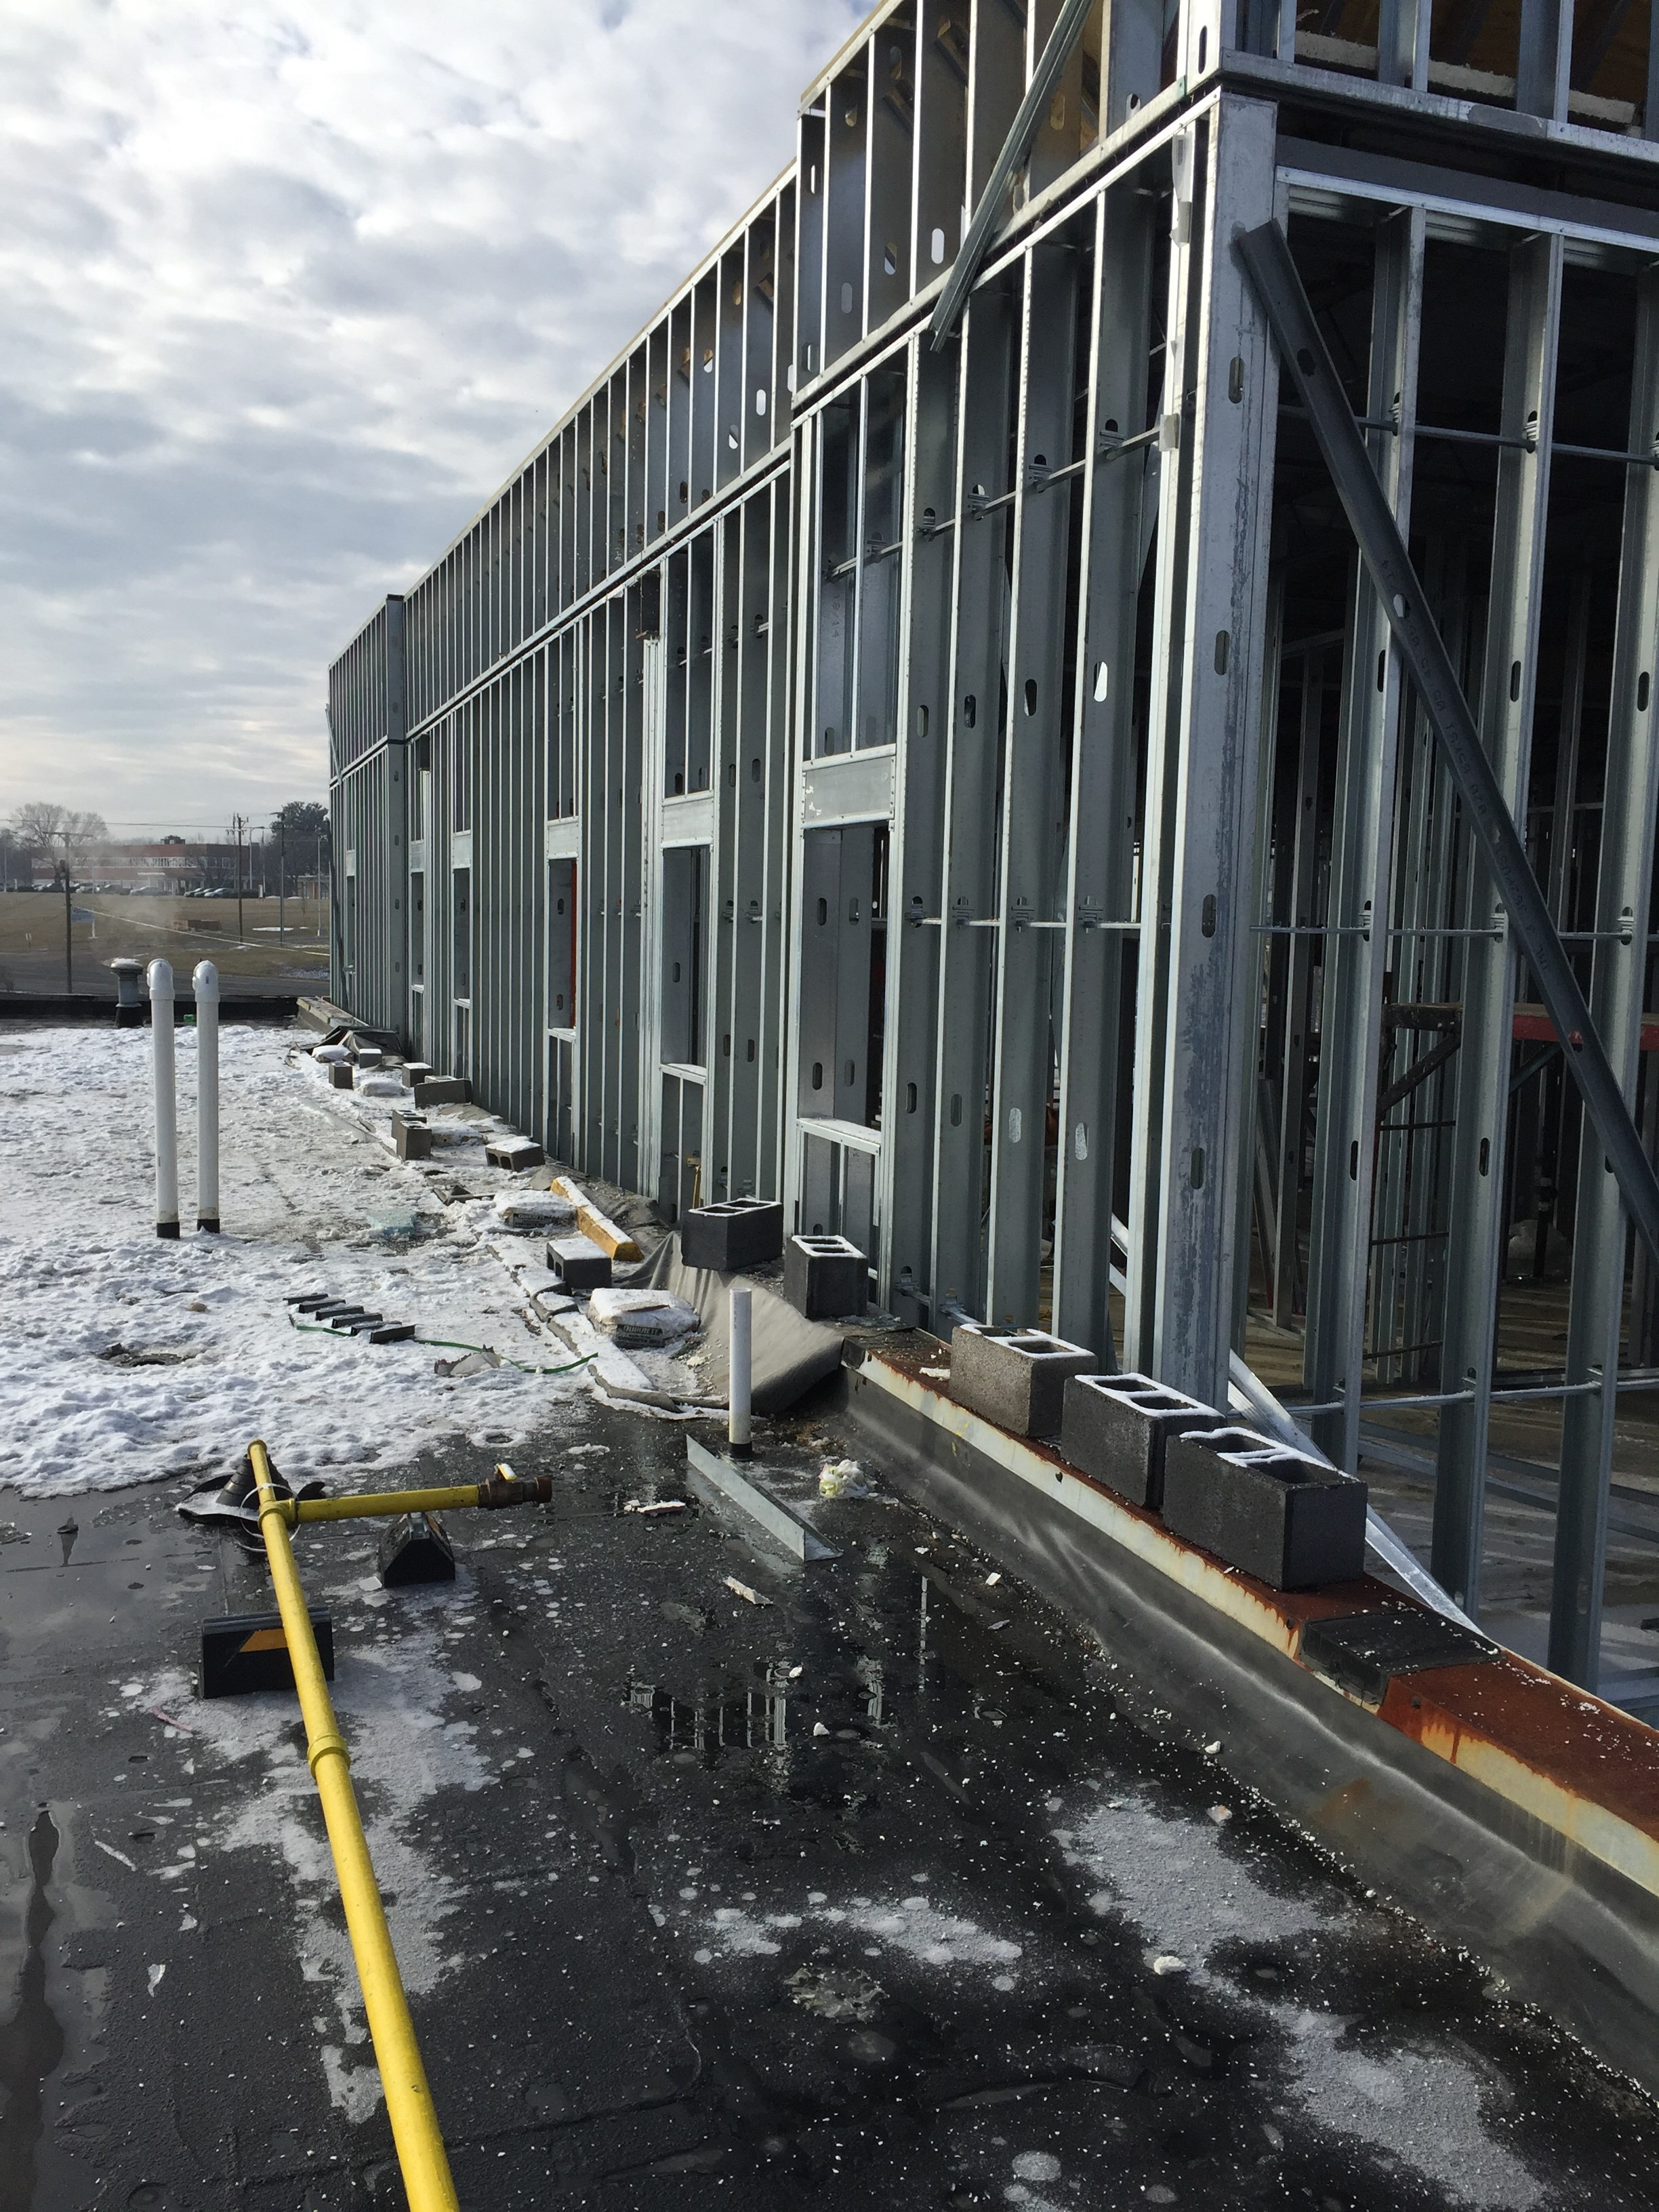
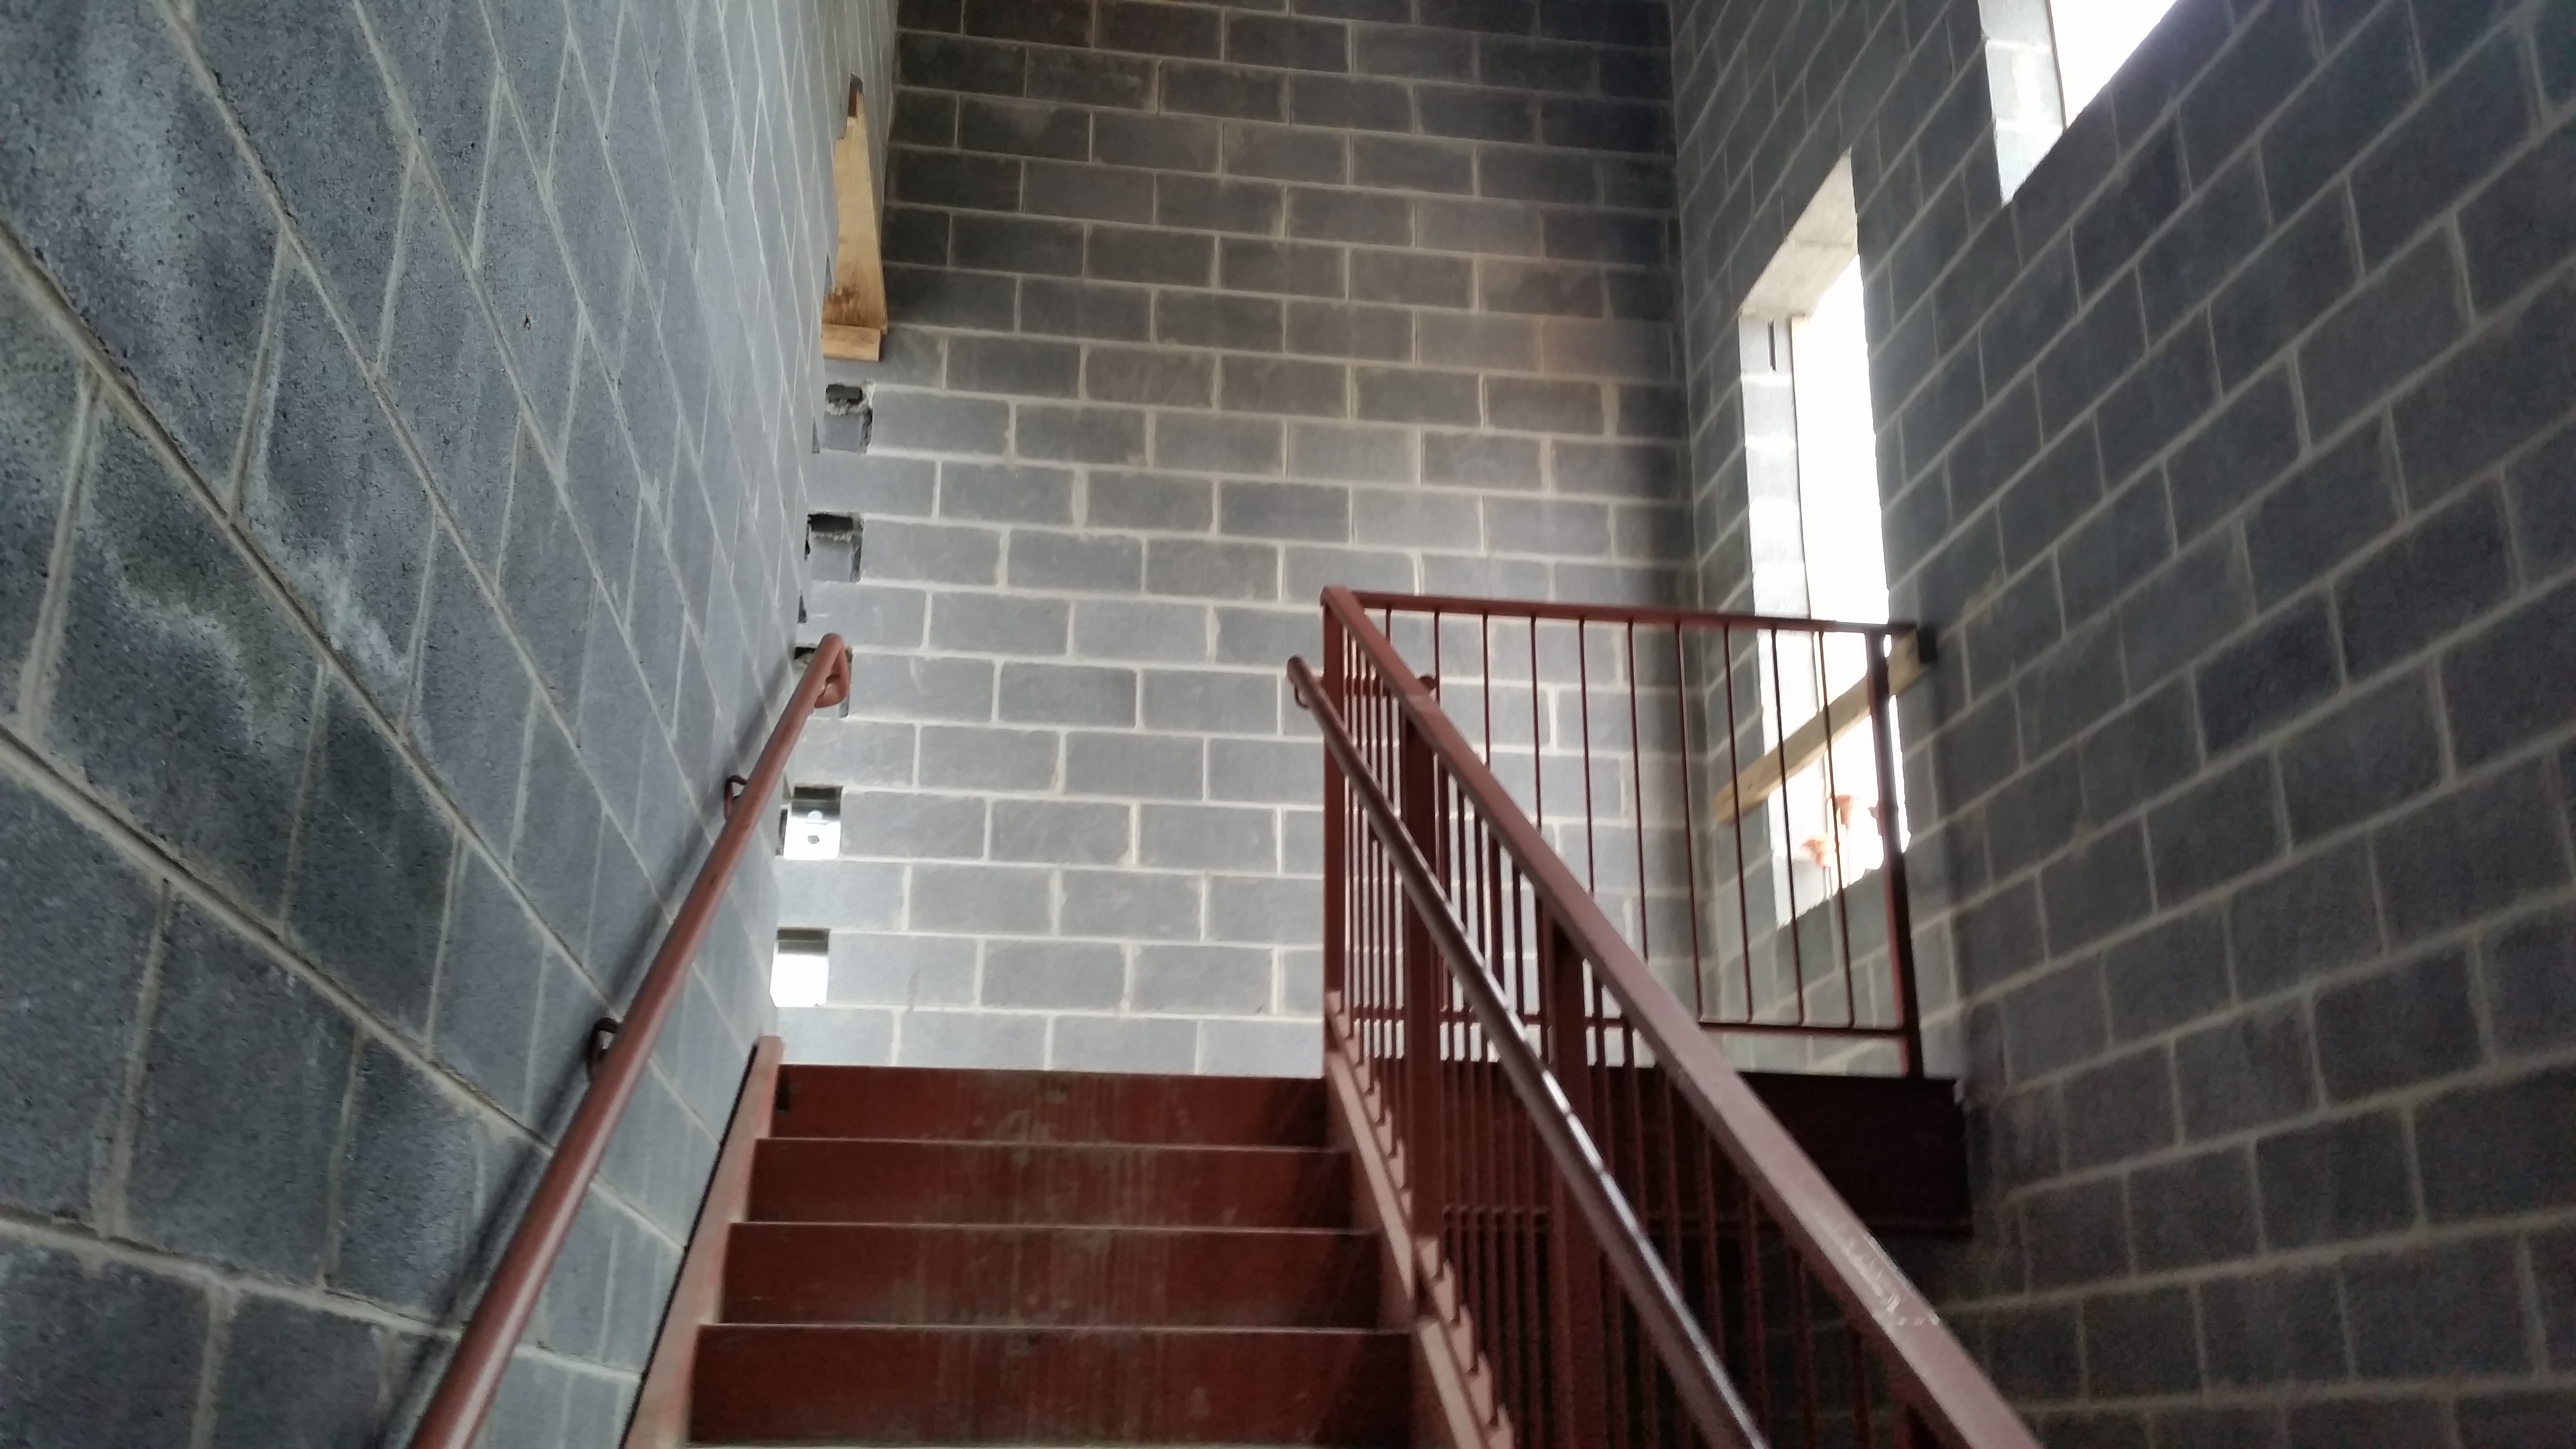
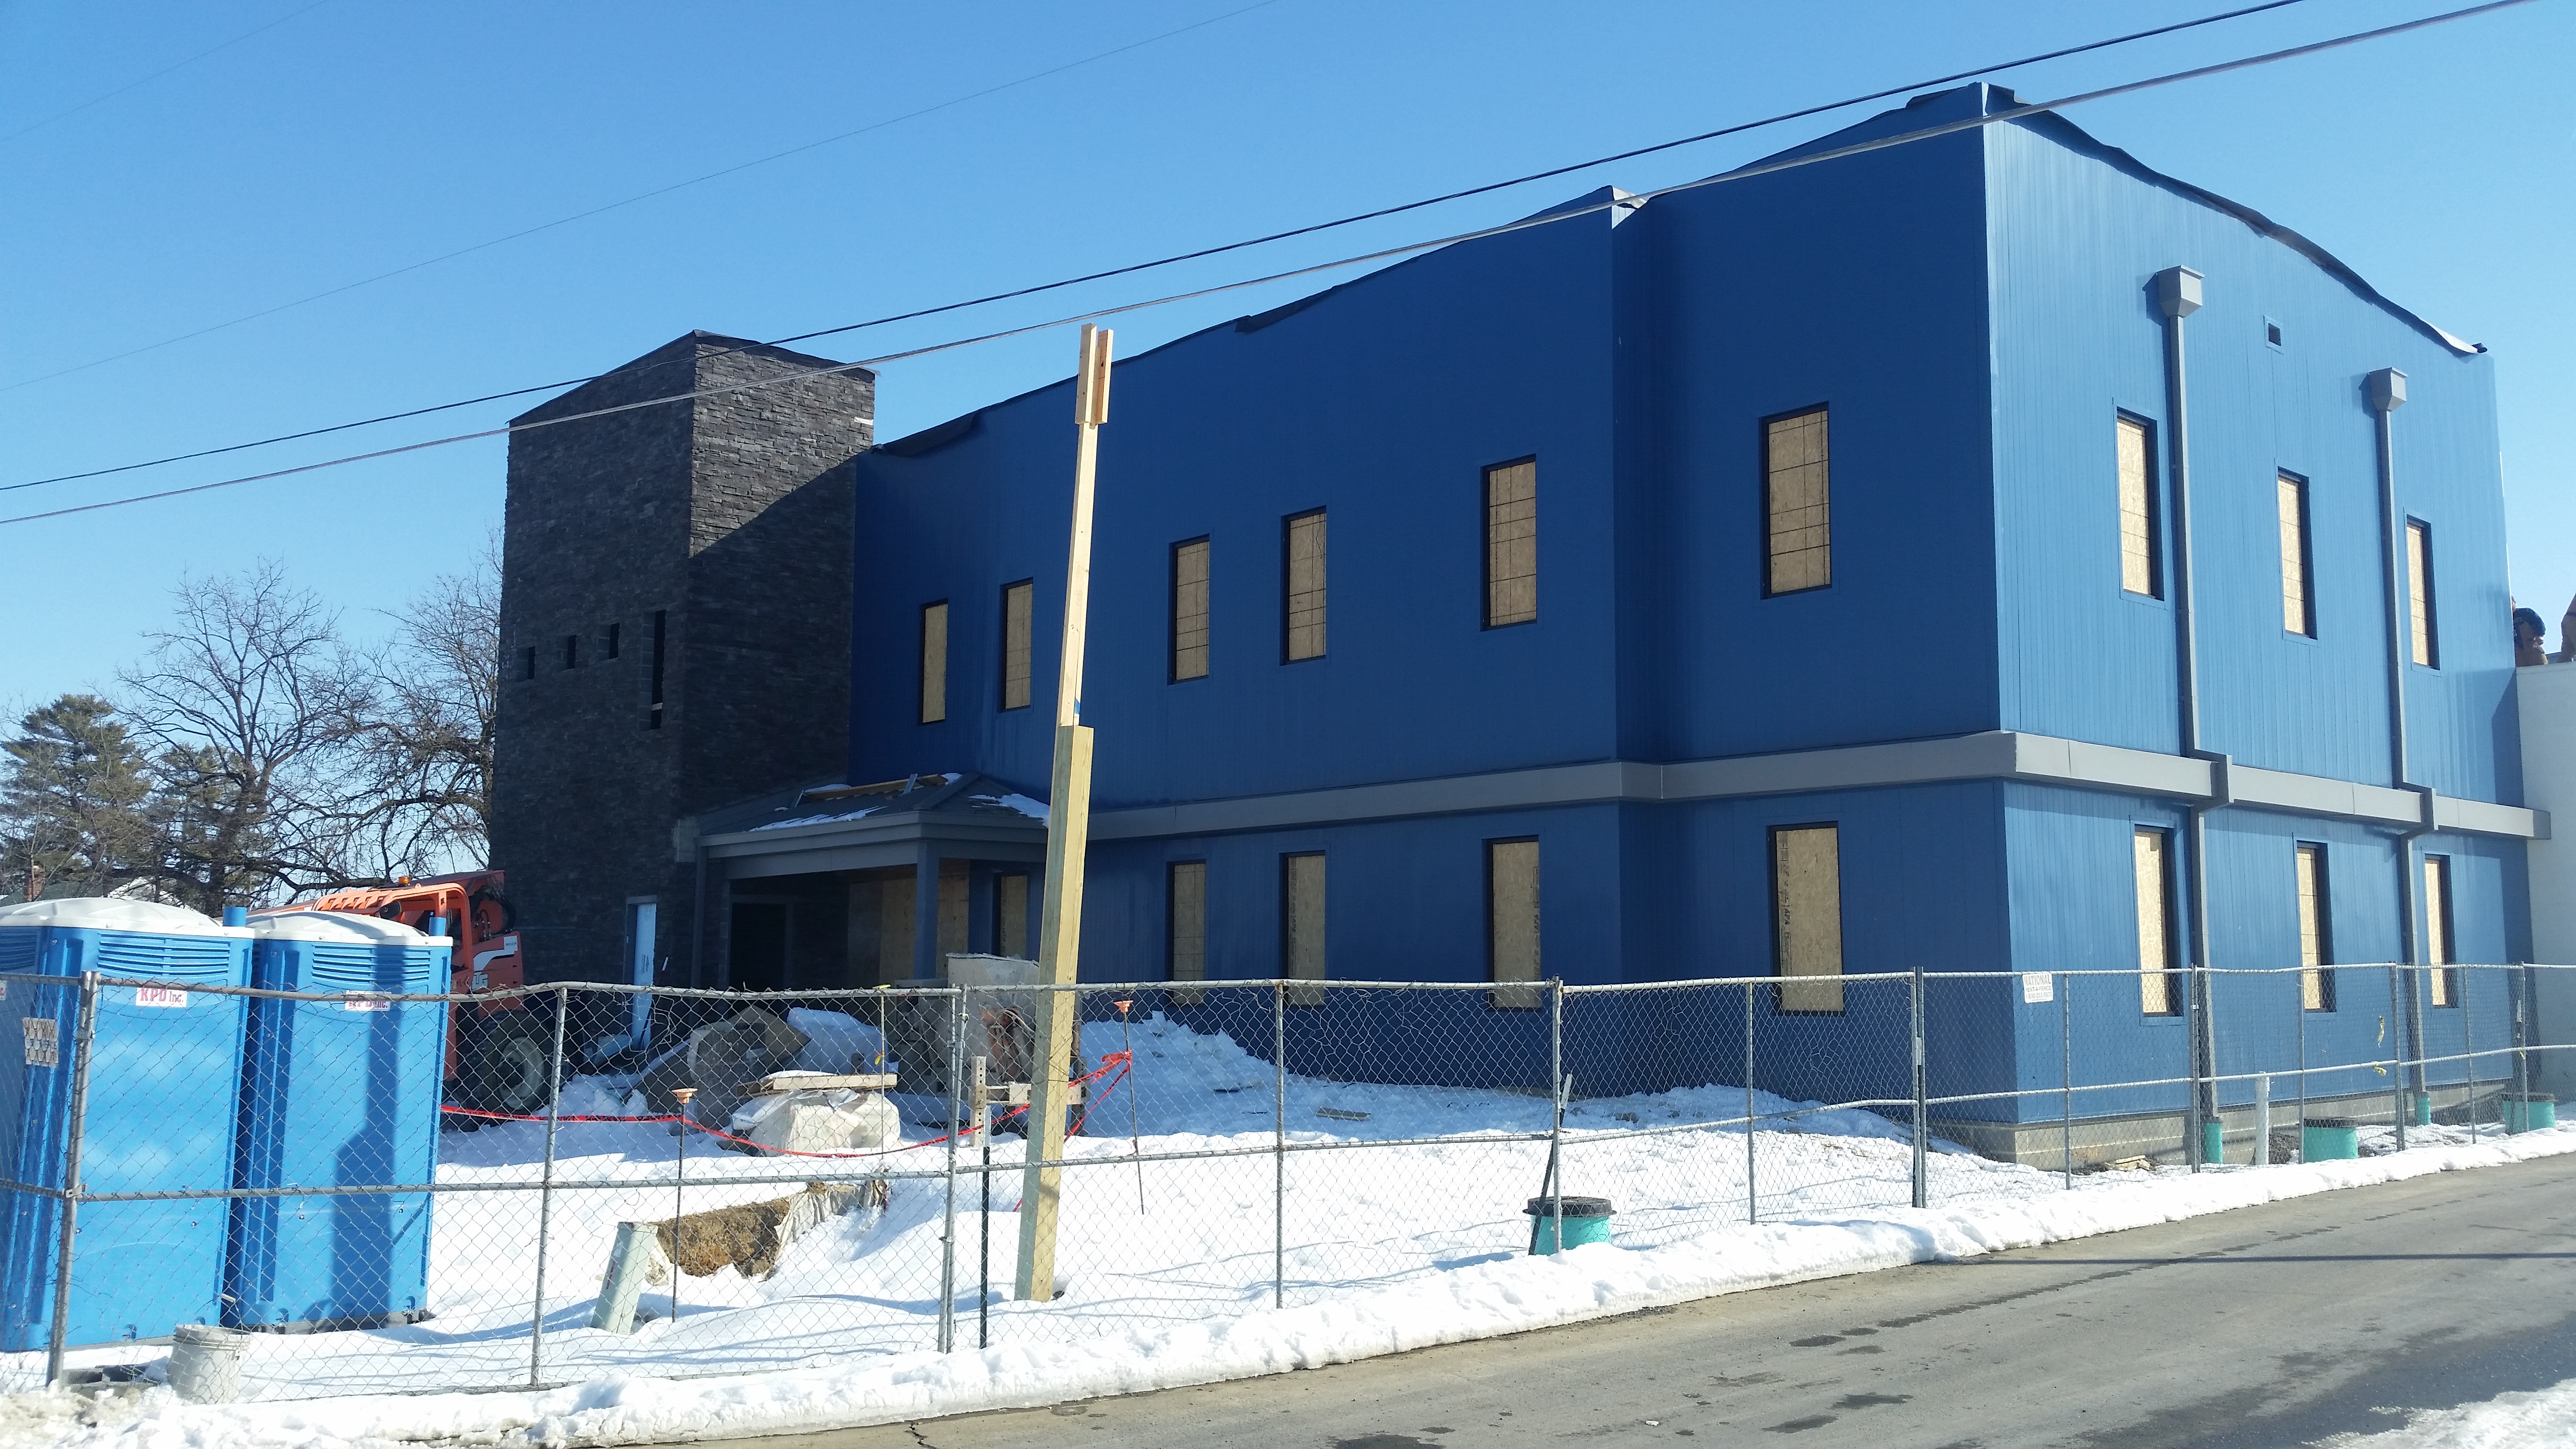
Progress is being made and the details are emerging at the Blue Ridge Area Food Bank building in Verona. The walls are in place, the siding is being installed, and the demolition is complete.

The front office is two stories tall giving space for the entire staff in one location. The aesthetic of the office space is simple but brings a touch of style to the warehouse aesthetic.

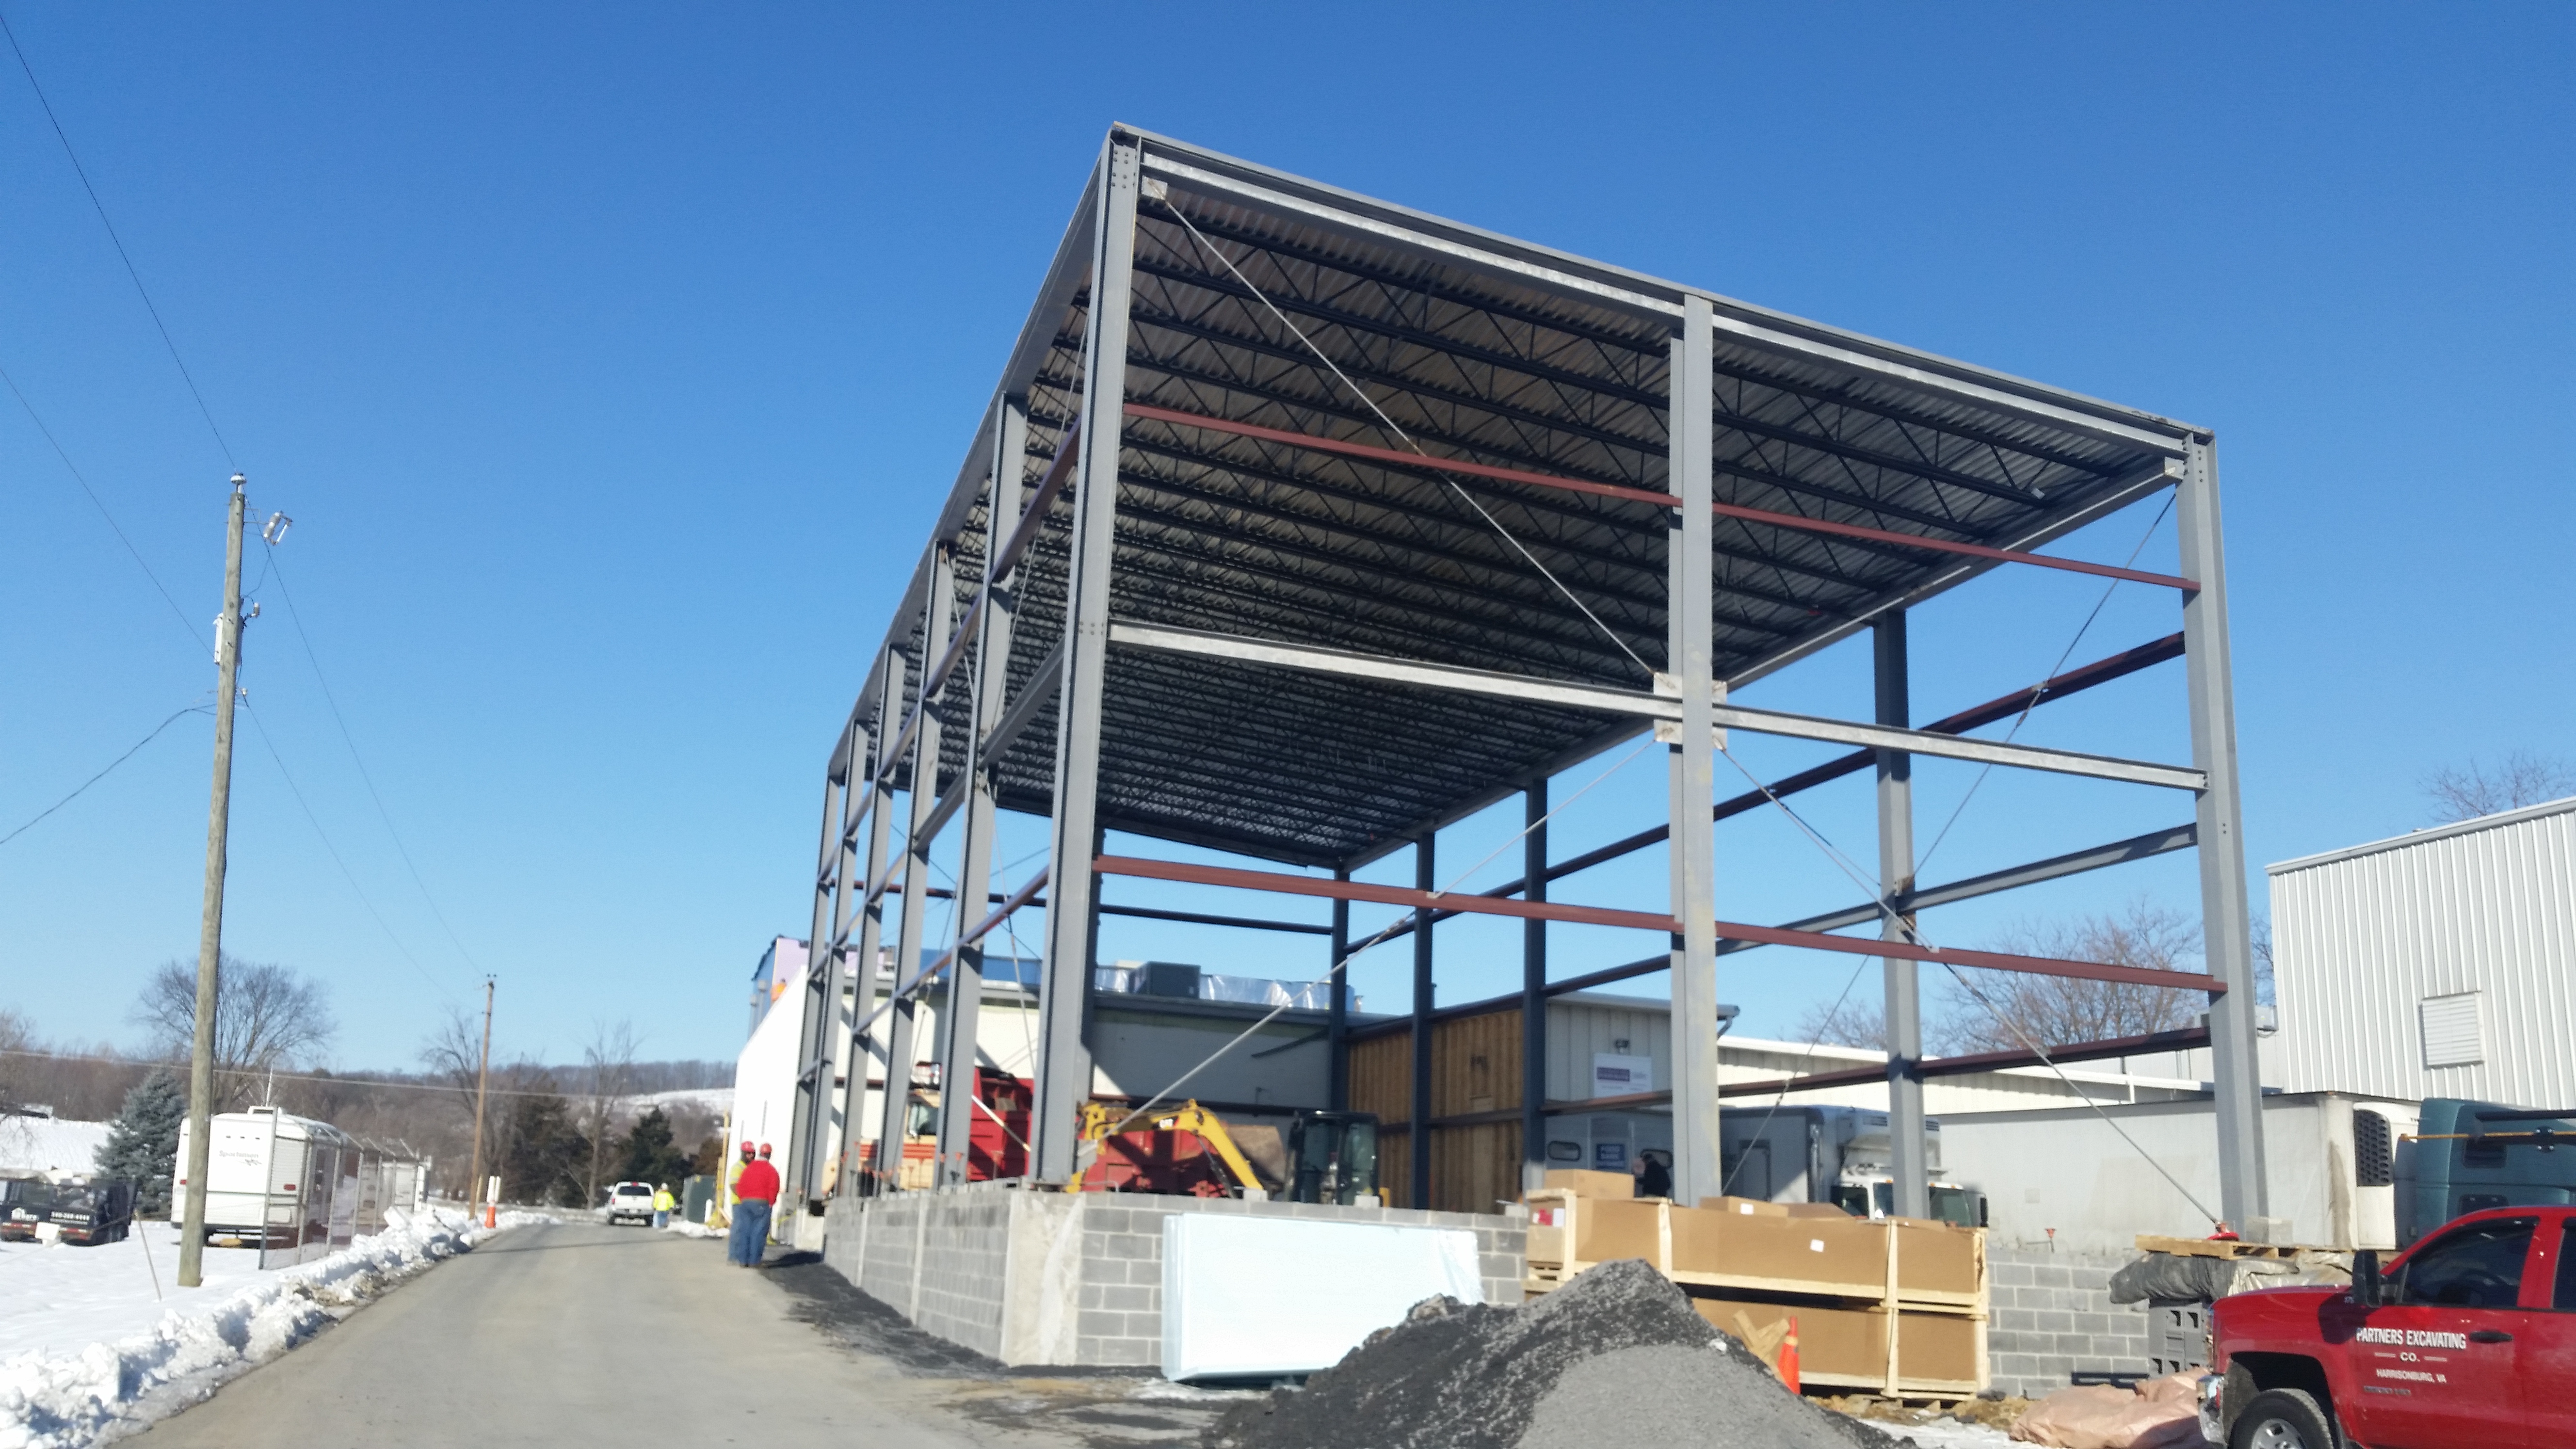
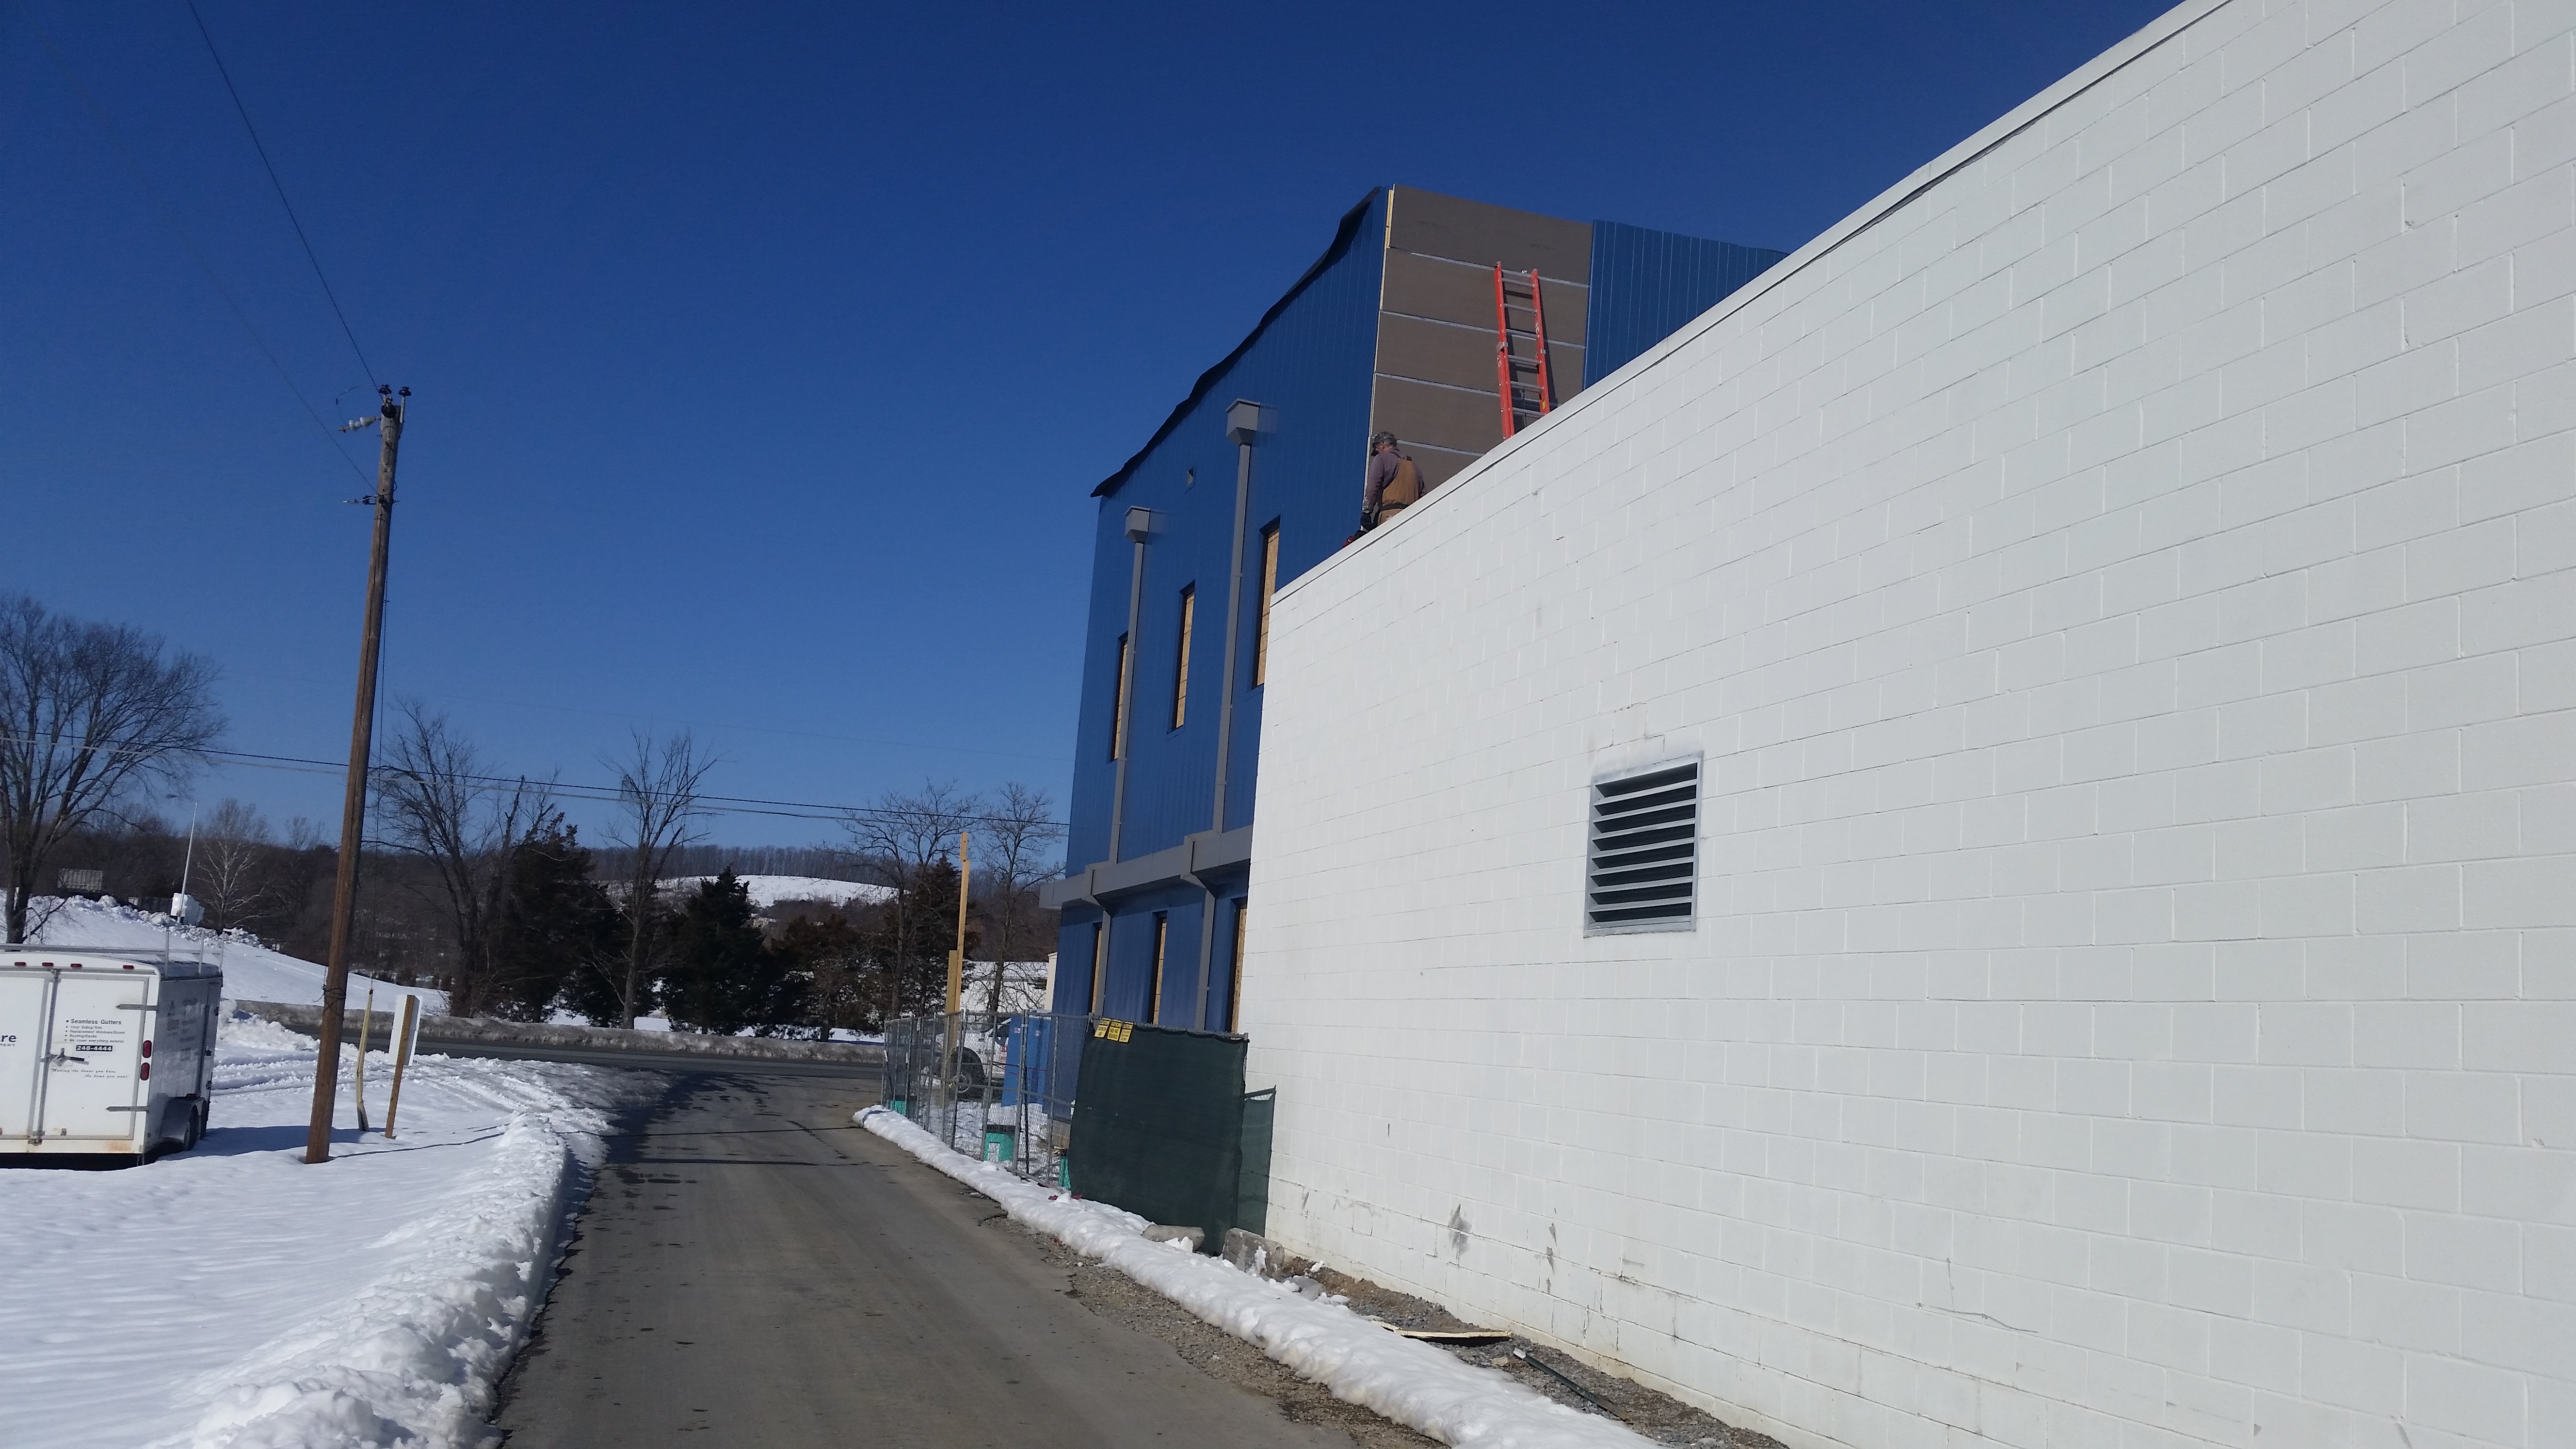
The rear warehouse addition will provide space that allows the Food Bank to provide more fresh vegetables to their clients. This impressive structure takes storage high in the space to maximize the square footage available. Once the frame is complete, the floor will be poured and the wall panels installed.

Back at the front of the property, the office has the siding installed and the windows will be in soon. Once the building is weather tight, the interior finishes can begin.

For more updates on the Food Bank, click here.
by harrisonburgarchitect | Mar 11, 2015 | architecture, Harrisonburg Architect
The snow is melting, the birds are chirping, and Spring is coming – it must be SVBA Home and Garden Show time! This year’s show in Harrisonburg has some great new additions including a plant sale, Canstruction, Education Sessions, and the Home Show Food Fest! Plan to attend this great event on April 11-12 at the Rockingham County Fair Grounds. All the fun activities from the past will return including a kid zone, Beer Garden, Classic Car Show, SPCA Adoption Event, and of course all the industry leading experts in the Home Construction industry.

Attend The Home Show And…
• Shop, compare and save. Ask exhibitors for show specials
• Save time by meeting a wide range of companies under one roof
• Discover new ideas and interesting products for your home
• Find the best resources in home improvement, landscaping, and design services
• Meet face to face and get a “feel” before you hire
• Get expert advice and learn from the pros
• Get inspired and excited about your home and the countless possibilities

The Education sessions include topics such as gardening, canning, herb gardening, soap making, native plants, purchasing a home, reverse mortgages, vegetable gardening, soapbox derby car construction, and beer making.

This family friendly event benefits many organizations including the SVBA, MTC, SPCA, Explore More Discovery Museum, and the Blue Ridge Area Food Bank.


by cbhendricks | Mar 9, 2015 | architecture, Building Science, Harrisonburg Architect
Green Terms Defined: Energy Recovery Ventilator (ERV)
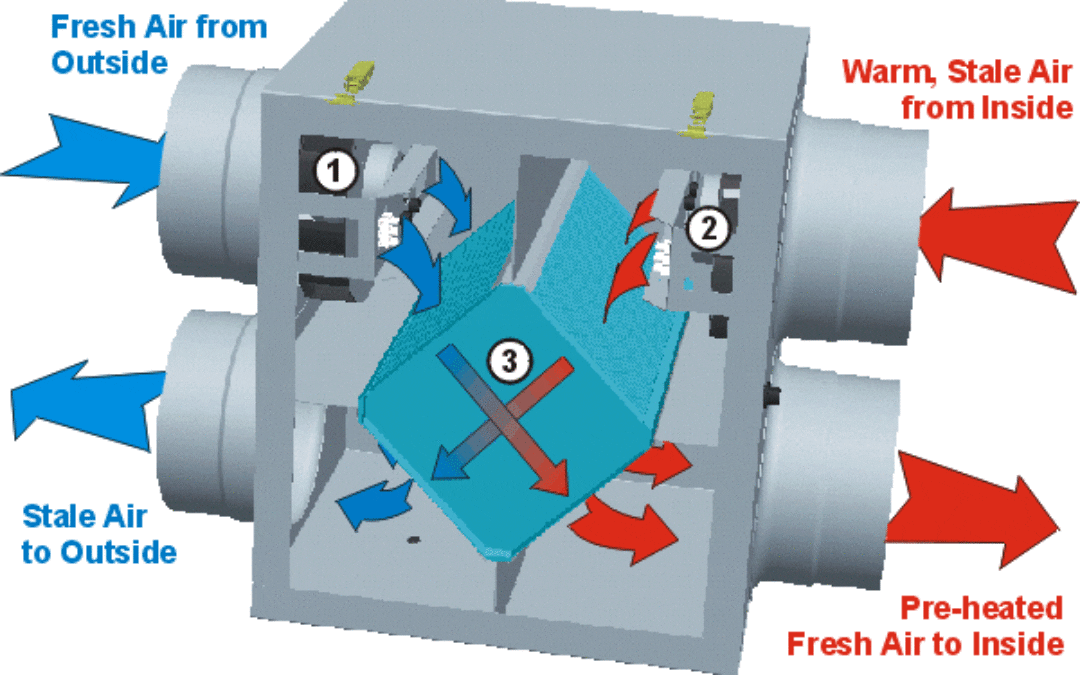
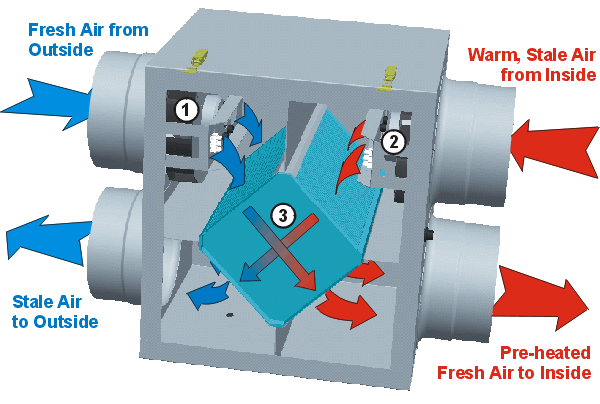
An ERV or Energy Recovery Ventilator is part of a balanced ventilation system that transfers water vapor and heat from one airstream to another. In a mixed humid climate, it works differently in the hot season and the cold season. In hot months, the ERV works to maintain the interior relative humidity of a structure as outside air is conditioned by the ERV entering the fresh air ventilation system. In cold months water vapor is captured from the outgoing air to humidify the incoming air.

An ERV or HRV (heat recovery ventilator) provides fresh air and improved climate control while reducing the energy requirement for heating and cooling a building.

